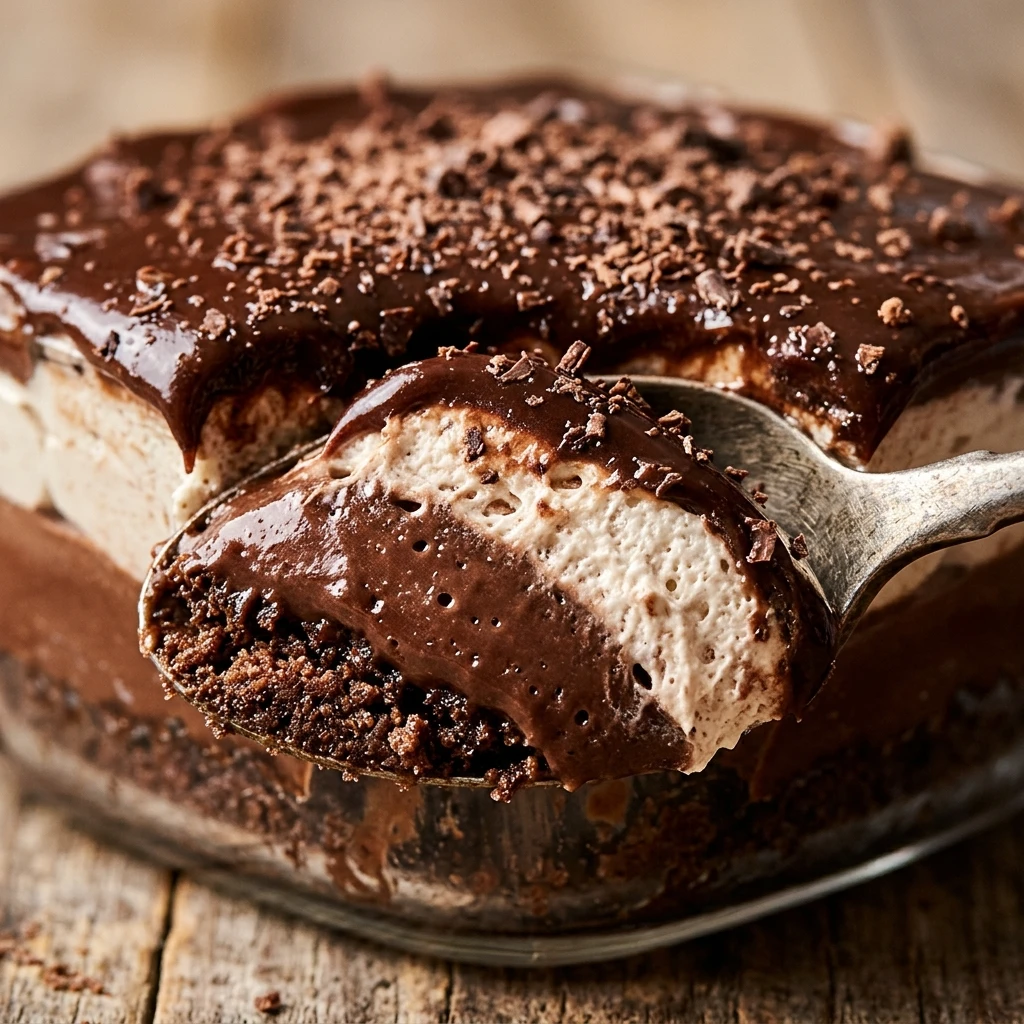
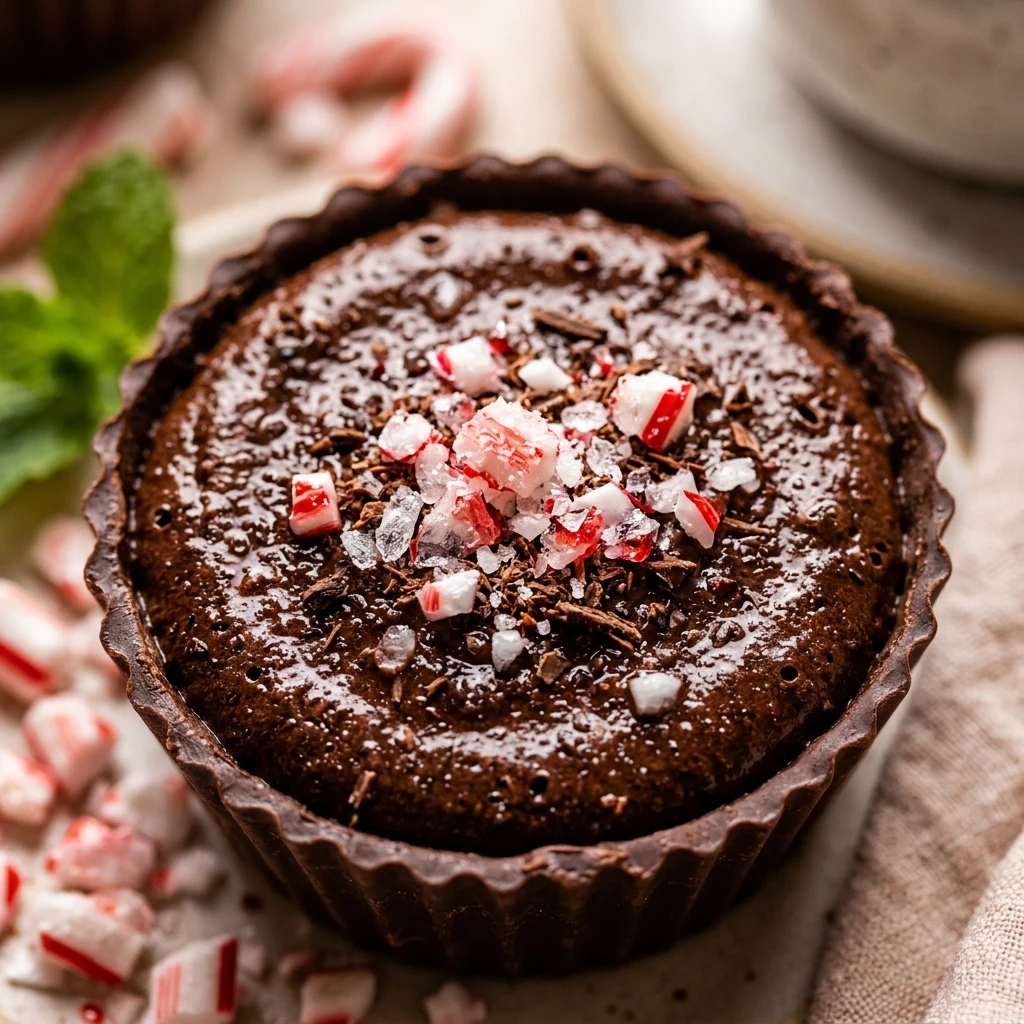

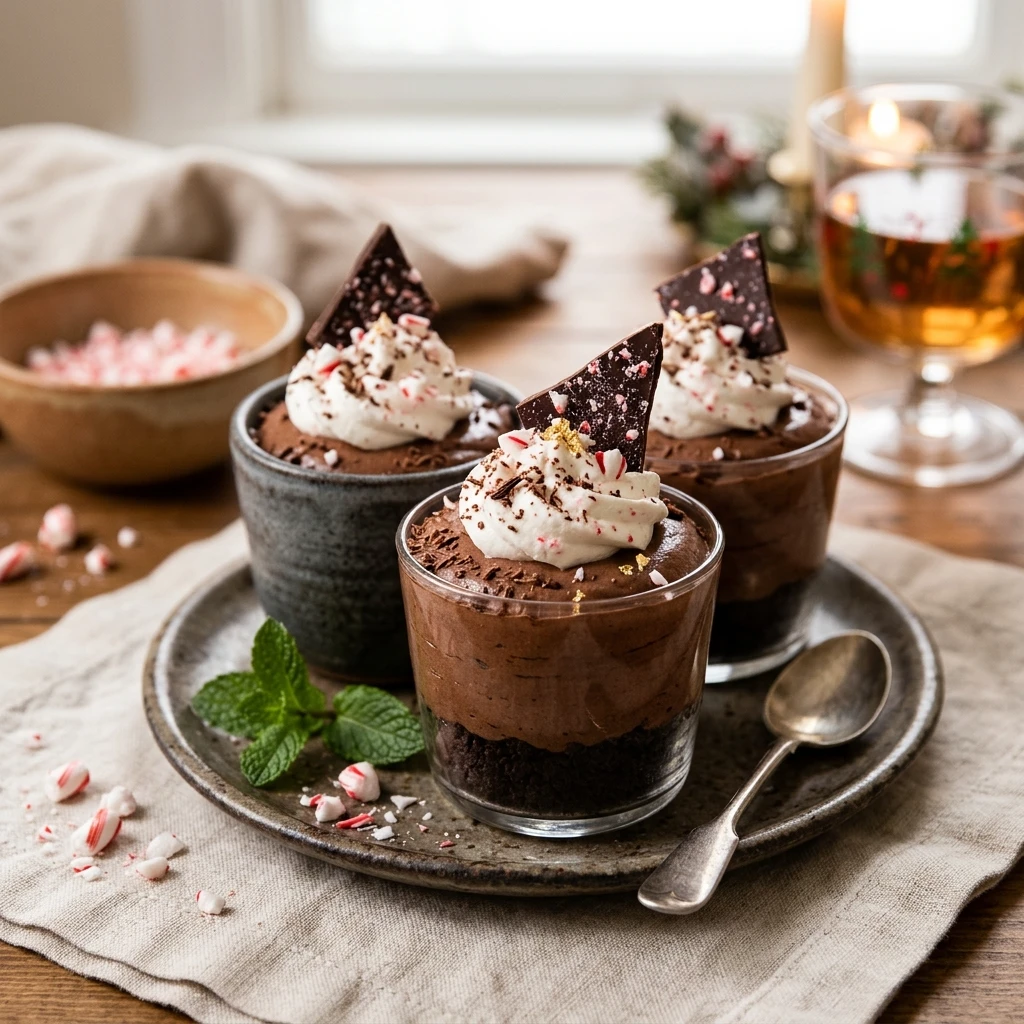
Looking for a show-stopping holiday dessert that doesn’t require a single minute of oven time? These No-Bake Chocolate Peppermint Mousse Cups are the ultimate solution for busy hosts and chocolate lovers alike. They combine a crunchy, buttery chocolate cookie crust with a cloud-like peppermint chocolate filling that melts in your mouth. Whether you are prepping for a festive party or just want a refreshing sweet treat after dinner, these individual servings look elegant and taste like they came from a high-end bakery. Best of all, you can whip them up in less than half an hour and let the refrigerator do the hard work for you.
Recipe Information
- Prep Time: 20 minutes
- Cook Time: 0 minutes
- Total Time: 2 hours 20 minutes
- Servings: 12 servings
- Difficulty: Easy
Nutrition values
- Calories: 285 kcal
- Protein: 3g
- Carbs: 26g
Why Make This No-Bake Chocolate Peppermint Mousse Cups
This recipe is a holiday lifesaver. First, it requires zero baking, which means you keep your oven free for the main course. Second, the combination of dark chocolate and cool peppermint is a classic flavor profile that appeals to everyone. Because they are served in individual cups, they are perfectly portioned for gatherings, making serving a breeze. The texture is the real winner here—the light, airy mousse provides a beautiful contrast to the dense, crunchy chocolate base. Plus, you can make them a day in advance, giving you one less thing to worry about on the day of your event.
Ingredients
- 24 chocolate sandwich cookies (like Oreos)
- 4 tablespoons unsalted butter, melted
- 8 ounces cream cheese, softened to room temperature
- 1/2 cup granulated sugar
- 1/4 cup unsweetened cocoa powder
- 1/2 teaspoon peppermint extract
- 1 teaspoon vanilla extract
- 1 1/2 cups heavy whipping cream, cold
- Crushed candy canes for garnish
- Chocolate shavings for garnish
Directions
Step 1: Prepare the Cookie Crust
Place the chocolate sandwich cookies into a food processor and pulse until you have fine crumbs. Transfer the crumbs to a medium bowl and stir in the melted butter until the mixture looks like wet sand. Line a muffin tin with paper liners or set out 12 small dessert glasses. Divide the crumb mixture evenly among the cups, pressing down firmly with the back of a spoon or a small glass to create a solid base. Place the tin in the refrigerator to set while you prepare the filling.
Step 2: Mix the Mousse Filling
In a large mixing bowl, beat the softened cream cheese and sugar together until the mixture is smooth and creamy. Sift in the cocoa powder and add the peppermint and vanilla extracts. Beat again until fully incorporated. In a separate chilled bowl, whip the heavy cream until stiff peaks form. Gently fold about one-third of the whipped cream into the chocolate mixture to lighten it up. Carefully fold in the remaining whipped cream using a spatula, being careful not to deflate the air, until no white streaks remain.
Step 3: Assemble and Chill
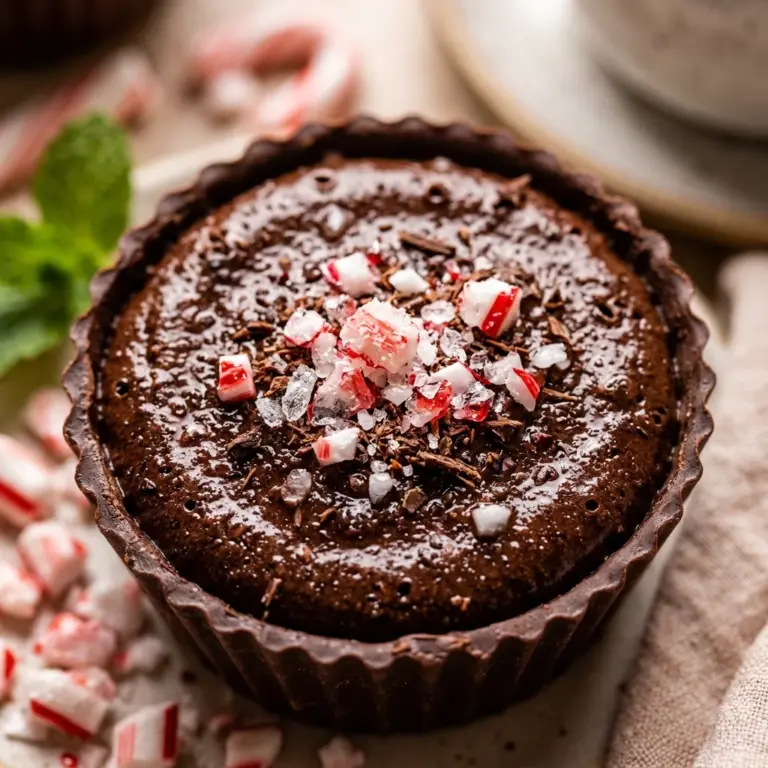
Spoon the mousse mixture into a piping bag or use a large spoon to divide it among the prepared cookie crusts. Smooth the tops with a small spatula or leave them in decorative swirls. Refrigerate the cups for at least 2 hours, or until the mousse is firm and set. Just before serving, sprinkle the tops with crushed candy canes and chocolate shavings for a festive finish. Serve chilled directly from the refrigerator.
Expert Tips for Perfect No-Bake Chocolate Peppermint Mousse Cups
To get the best results, always use cold heavy whipping cream; it whips faster and holds its shape better than room-temperature cream. Make sure your cream cheese is truly softened, or you will end up with tiny lumps in your mousse. If you want a more intense chocolate flavor, use Dutch-processed cocoa powder. For the cleanest presentation, use a piping bag with a large star tip to fill your cups. Finally, don’t add the crushed candy canes until right before serving, as they can start to melt and bleed color into the mousse if they sit in the fridge for too long.
Delicious Variations
You can easily customize these mousse cups to suit your taste. For a “White Christmas” version, swap the cocoa powder for 4 ounces of melted and cooled white chocolate. If you prefer a more subtle mint flavor, reduce the peppermint extract to 1/4 teaspoon. For a boozy adult version, replace the peppermint extract with a tablespoon of peppermint schnapps. You can also change the crust by using graham crackers or even gingersnaps for a spicy holiday twist. For a vegan-friendly version, use coconut cream instead of heavy cream and a dairy-free cream cheese alternative.
Frequently Asked Questions
Can I make these mousse cups in advance?
Yes! These are actually better when made ahead. You can prepare them up to 24 hours in advance. Just keep them covered in the refrigerator and wait to add the garnishes until you are ready to serve.
What if I don’t have a food processor for the cookies?
No problem. Simply place the cookies in a heavy-duty zip-top bag and crush them with a rolling pin or a heavy skillet until they are fine crumbs.
Can I freeze these peppermint mousse cups?
You can freeze them for up to two weeks. They actually taste delicious semi-frozen, like a mini ice cream cake. Thaw them in the fridge for 30 minutes before serving if they were fully frozen.
Do I have to use peppermint extract?
The peppermint extract provides the signature holiday flavor. However, if you aren’t a fan of mint, you can omit it and add extra vanilla or even a bit of instant espresso powder for a mocha mousse instead.
What kind of cups should I use?
If you aren’t using a muffin tin with liners, small 2-ounce or 4-ounce plastic dessert cups work perfectly for parties. Glass votive holders or small espresso cups also make for a very elegant presentation.
Conclusion
No-Bake Chocolate Peppermint Mousse Cups are the quintessential holiday dessert. They are rich, creamy, and vibrantly flavored, yet they require very little effort to assemble. By following these simple steps, you can create a professional-looking dessert that balances the intensity of dark chocolate with the crisp brightness of peppermint. Your guests will love the individual portions, and you will love the stress-free preparation. Give this recipe a try for your next winter gathering and watch them disappear in minutes!
No-Bake Chocolate Peppermint Mousse Cups
- Total Time: 2 hours 20 minutes
Ingredients
- 24 chocolate sandwich cookies (like Oreos)
- 4 tablespoons unsalted butter, melted
- 8 ounces cream cheese, softened to room temperature
- 1/2 cup granulated sugar
- 1/4 cup unsweetened cocoa powder
- 1/2 teaspoon peppermint extract
- 1 teaspoon vanilla extract
- 1 1/2 cups heavy whipping cream, cold
- Crushed candy canes for garnish
- Chocolate shavings for garnish
Instructions
- Step 1: Prepare the Cookie Crust. Place the chocolate sandwich cookies into a food processor and pulse until you have fine crumbs. Transfer the crumbs to a medium bowl and stir in the melted butter until the mixture looks like wet sand. Line a muffin tin with paper liners or set out 12 small dessert glasses. Divide the crumb mixture evenly among the cups, pressing down firmly with the back of a spoon or a small glass to create a solid base. Place the tin in the refrigerator to set while you prepare the filling.
- Step 2: Mix the Mousse Filling. In a large mixing bowl, beat the softened cream cheese and sugar together until the mixture is smooth and creamy. Sift in the cocoa powder and add the peppermint and vanilla extracts. Beat again until fully incorporated. In a separate chilled bowl, whip the heavy cream until stiff peaks form. Gently fold about one-third of the whipped cream into the chocolate mixture to lighten it up. Carefully fold in the remaining whipped cream using a spatula, being careful not to deflate the air, until no white streaks remain.
- Step 3: Assemble and Chill. Spoon the mousse mixture into a piping bag or use a large spoon to divide it among the prepared cookie crusts. Smooth the tops with a small spatula or leave them in decorative swirls. Refrigerate the cups for at least 2 hours, or until the mousse is firm and set. Just before serving, sprinkle the tops with crushed candy canes and chocolate shavings for a festive finish. Serve chilled directly from the refrigerator.
- Cook Time: 2 hours 20 minutes
- Diet: Vegetarian