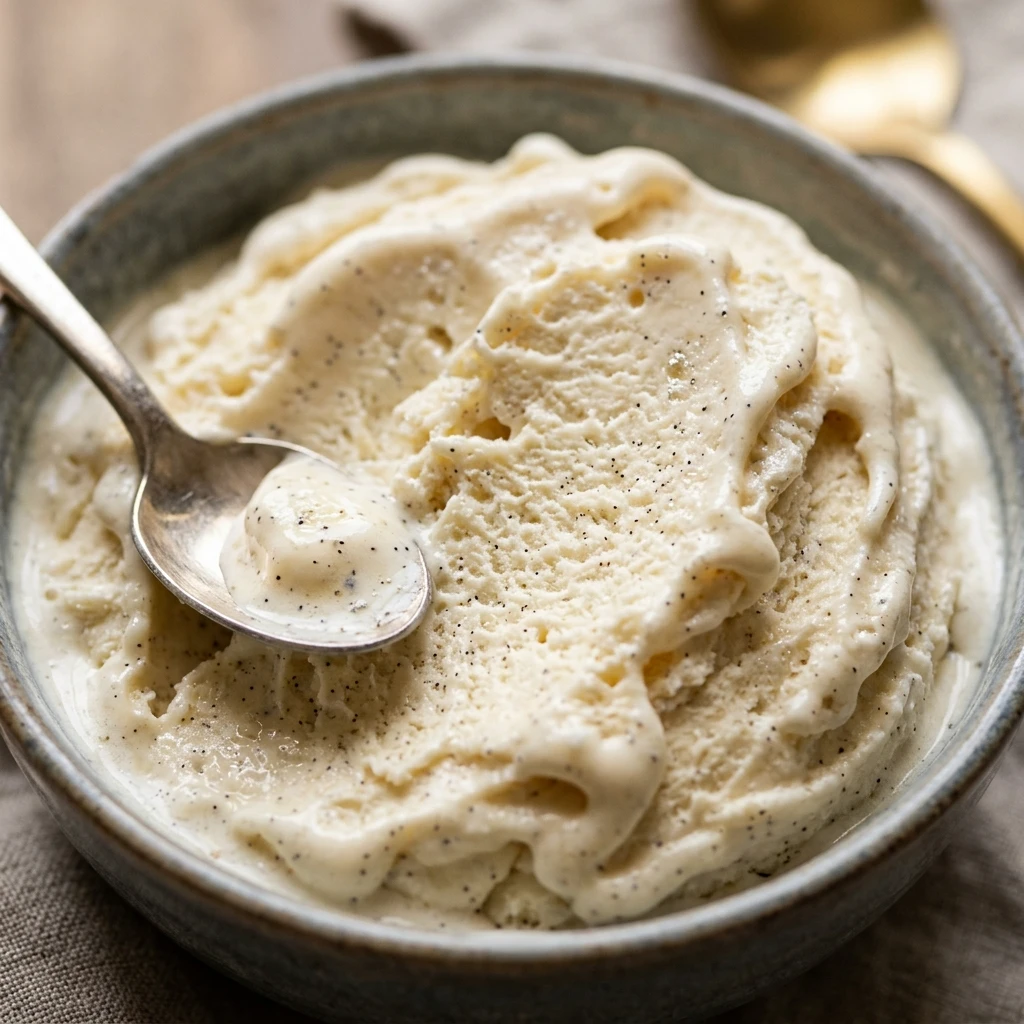

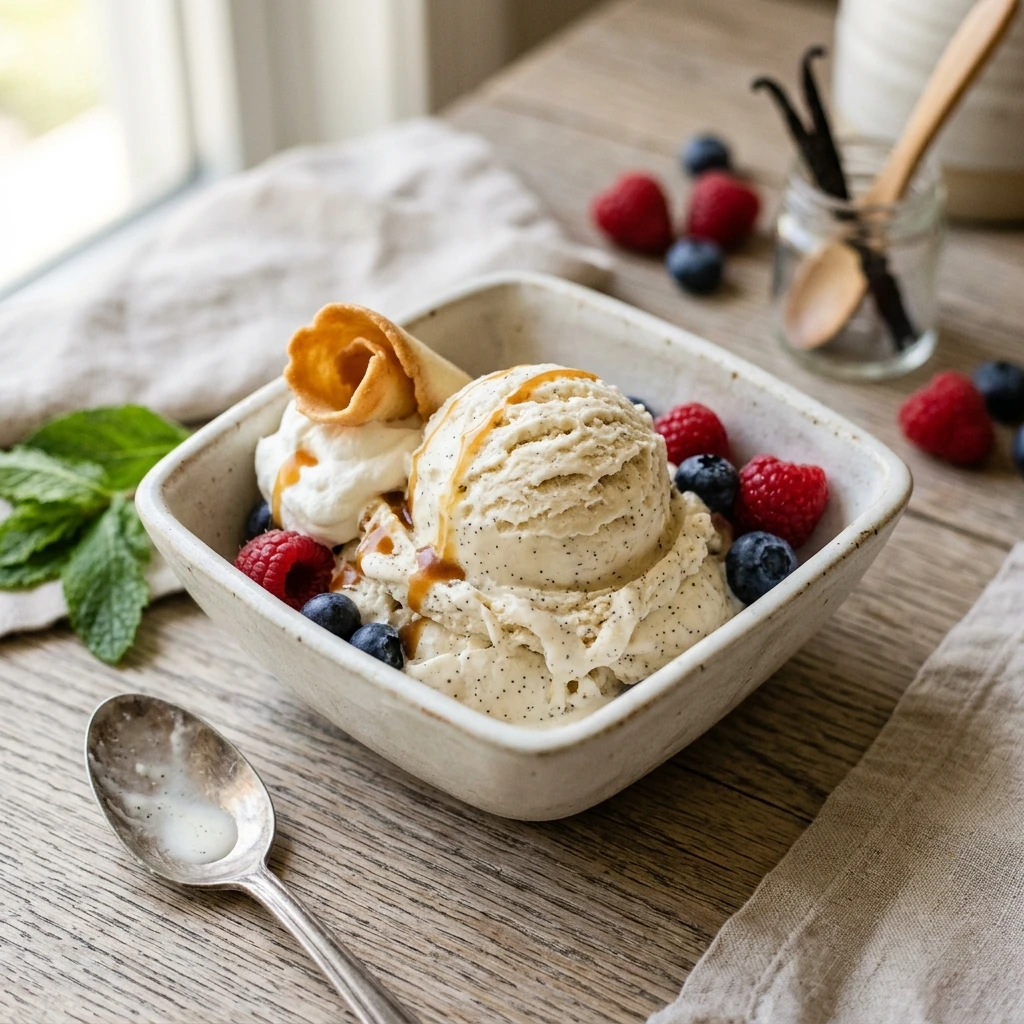
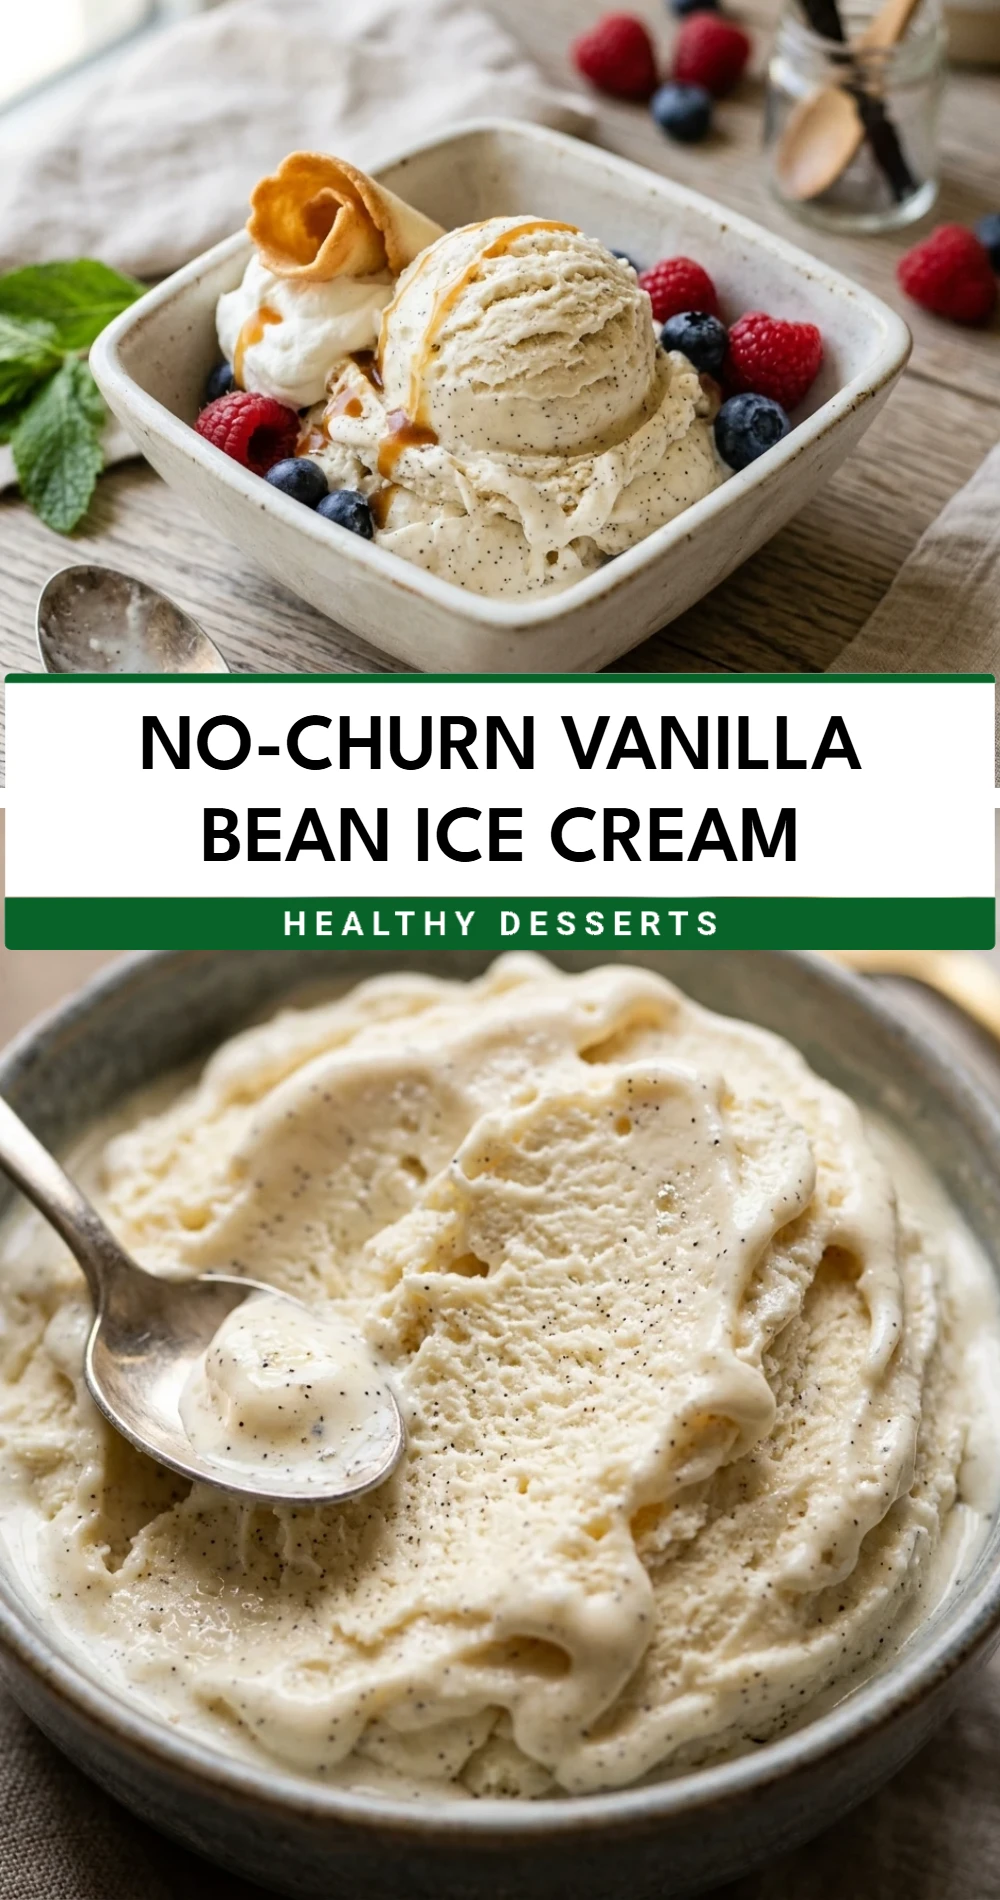
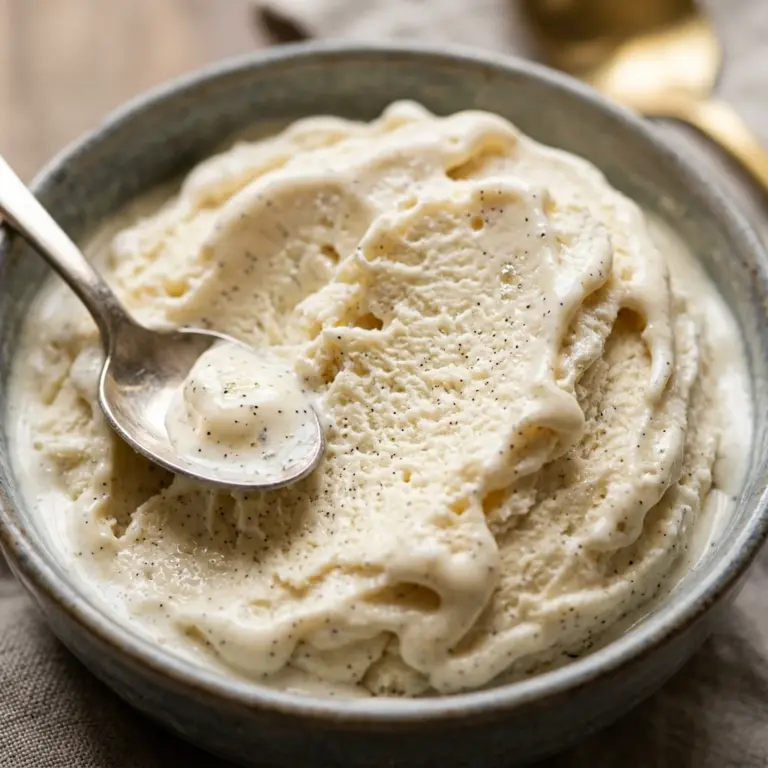
Imagine creamy, dreamy ice cream without the hassle of a bulky machine or constant churning. This No-Churn Vanilla Bean Ice Cream is a game-changer for dessert lovers who crave that gourmet, artisanal texture right at home. By using a clever combination of whipped cream and sweetened condensed milk, you create a rich, velvety base that rivals any high-end creamery. The real star here is the vanilla bean, which adds those beautiful dark flecks and a complex, floral aroma that bottled extract simply cannot match. It’s the ultimate canvas for your favorite toppings or a stunningly elegant treat all on its own.
Recipe Information
- Prep Time: 15 minutes
- Cook Time: 0 minutes
- Total Time: 15 minutes (plus 6 hours freezing time)
- Servings: 8 servings
- Difficulty: Easy
Nutrition values
- Calories: 310 kcal
- Protein: 4g
- Carbs: 26g
Why Make This No-Churn Vanilla Bean Ice Cream
This recipe eliminates the need for expensive kitchen gadgets while delivering a professional-grade result. Most store-bought ice creams are filled with stabilizers and air; this homemade version is dense, creamy, and pure. It takes less than twenty minutes to whip up, making it the perfect “set it and forget it” dessert. Plus, using real vanilla beans elevates the flavor profile from “plain vanilla” to a sophisticated culinary experience that will impress any guest.
Ingredients
- 2 cups (480ml) heavy whipping cream, chilled
- 1 can (14 oz) sweetened condensed milk, chilled
- 1 whole vanilla bean (or 2 teaspoons vanilla bean paste)
- 1 teaspoon pure vanilla extract
- 1/4 teaspoon fine sea salt
Directions
Step 1: Prepare the Vanilla Bean
Place your vanilla bean on a cutting board. Use a sharp paring knife to slice the bean lengthwise down the center. Use the back of the knife to scrape out all the tiny black seeds from the inside of the pod. Set these seeds aside and discard the pod or save it for flavoring sugar.
Step 2: Whip the Cream
In a large, chilled mixing bowl, pour in the cold heavy whipping cream. Use a hand mixer or a stand mixer fitted with the whisk attachment. Beat the cream on medium-high speed until stiff peaks form. Be careful not to over-whip the cream into butter; you want it light, fluffy, and able to hold its shape.
Step 3: Combine the Base
In a separate medium bowl, stir together the sweetened condensed milk, the scraped vanilla bean seeds, the vanilla extract, and the salt. Mix until the vanilla seeds are evenly distributed throughout the condensed milk.
Step 4: Fold and Incorporate
Gently fold about a cup of the whipped cream into the condensed milk mixture to lighten it up. Then, pour the rest of the condensed milk mixture over the remaining whipped cream. Use a rubber spatula to gently fold the two together using a figure-eight motion. Do this carefully to keep as much air in the mixture as possible.
Step 5: Freeze the Ice Cream
Pour the mixture into a 9×5-inch loaf pan or an airtight freezer-safe container. Smooth the top with your spatula. Press a piece of plastic wrap directly onto the surface of the cream to prevent ice crystals from forming. Freeze for at least 6 hours, or ideally overnight, until firm.
Expert Tips for Perfect No-Churn Vanilla Bean Ice Cream
- Keep it Cold: Ensure your heavy cream and your mixing bowl are very cold before you start. This helps the cream achieve maximum volume and stability.
- Don’t Skip Salt: A pinch of salt doesn’t make the ice cream salty; it balances the sweetness and enhances the floral notes of the vanilla.
- Quality Matters: Since there are so few ingredients, use the highest quality heavy cream and vanilla you can find. The flavor of the vanilla bean is the highlight of this dish.
- Avoid Over-Mixing: When folding the condensed milk into the whipped cream, stop as soon as you see no more white streaks. Over-mixing will deflate the air and result in a harder ice cream.
Delicious Variations
- Salted Caramel Swirl: Drizzle warm salted caramel over the mixture before freezing and swirl it in with a knife.
- Chocolate Chip Bean: Fold in a half-cup of mini semi-sweet chocolate chips during the final folding step.
- Berry Ribbon: Swirl in a few tablespoons of raspberry or strawberry jam for a fruity contrast.
- Bourbon Vanilla: Add one tablespoon of high-quality bourbon to the condensed milk for a deeper, smokier flavor profile.
Frequently Asked Questions
How long does no-churn ice cream last in the freezer?
This ice cream is best enjoyed within two weeks. Because it doesn’t contain the preservatives found in commercial brands, it may develop ice crystals if stored for longer than a month.
Can I use half-and-half instead of heavy cream?
No. You specifically need the high fat content of heavy whipping cream (at least 36%) to create the structure and air needed for a no-churn recipe. Half-and-half will not whip into peaks.
What if I don’t have a vanilla bean?
You can substitute the vanilla bean with two teaspoons of vanilla bean paste. If you only have extract, increase the vanilla extract to one tablespoon, though you will miss those iconic black specks.
Why is my ice cream too hard to scoop?
Homemade ice cream often freezes firmer than store-bought versions. Simply let the container sit on the counter for 5 to 10 minutes before scooping to reach the perfect consistency.
Do I need to stir the ice cream while it freezes?
No! That is the beauty of this recipe. The high fat content and the air whipped into the cream prevent large ice crystals from forming, so it stays smooth without any extra effort.
Conclusion
Creating your own No-Churn Vanilla Bean Ice Cream is a rewarding experience that proves you don’t need fancy equipment to enjoy a luxury dessert. This recipe delivers a sophisticated flavor and a silkiness that will have everyone asking for your “secret” technique. Whether served alongside a warm fruit pie or enjoyed in a simple cone, this ice cream is a testament to the power of high-quality ingredients and simple preparation. Give it a try tonight and transform your freezer into a gourmet scoop shop!
No-Churn Vanilla Bean Ice Cream
- Total Time: 15 minutes
Ingredients
- 2 cups (480ml) heavy whipping cream, chilled
- 1 can (14 oz) sweetened condensed milk, chilled
- 1 whole vanilla bean (or 2 teaspoons vanilla bean paste)
- 1 teaspoon pure vanilla extract
- 1/4 teaspoon fine sea salt
Instructions
- Step 1: Prepare the Vanilla Bean
Place your vanilla bean on a cutting board. Use a sharp paring knife to slice the bean lengthwise down the center. Use the back of the knife to scrape out all the tiny black seeds from the inside of the pod. Set these seeds aside and discard the pod or save it for flavoring sugar.
- Step 2: Whip the Cream
In a large, chilled mixing bowl, pour in the cold heavy whipping cream. Use a hand mixer or a stand mixer fitted with the whisk attachment. Beat the cream on medium-high speed until stiff peaks form. Be careful not to over-whip the cream into butter; you want it light, fluffy, and able to hold its shape.
- Step 3: Combine the Base
In a separate medium bowl, stir together the sweetened condensed milk, the scraped vanilla bean seeds, the vanilla extract, and the salt. Mix until the vanilla seeds are evenly distributed throughout the condensed milk.
- Step 4: Fold and Incorporate
Gently fold about a cup of the whipped cream into the condensed milk mixture to lighten it up. Then, pour the rest of the condensed milk mixture over the remaining whipped cream. Use a rubber spatula to gently fold the two together using a figure-eight motion. Do this carefully to keep as much air in the mixture as possible.
- Step 5: Freeze the Ice Cream
Pour the mixture into a 9×5-inch loaf pan or an airtight freezer-safe container. Smooth the top with your spatula. Press a piece of plastic wrap directly onto the surface of the cream to prevent ice crystals from forming. Freeze for at least 6 hours, or ideally overnight, until firm.
- Cook Time: 15 minutes (plus 6 hours freezing time)
- Diet: Vegetarian