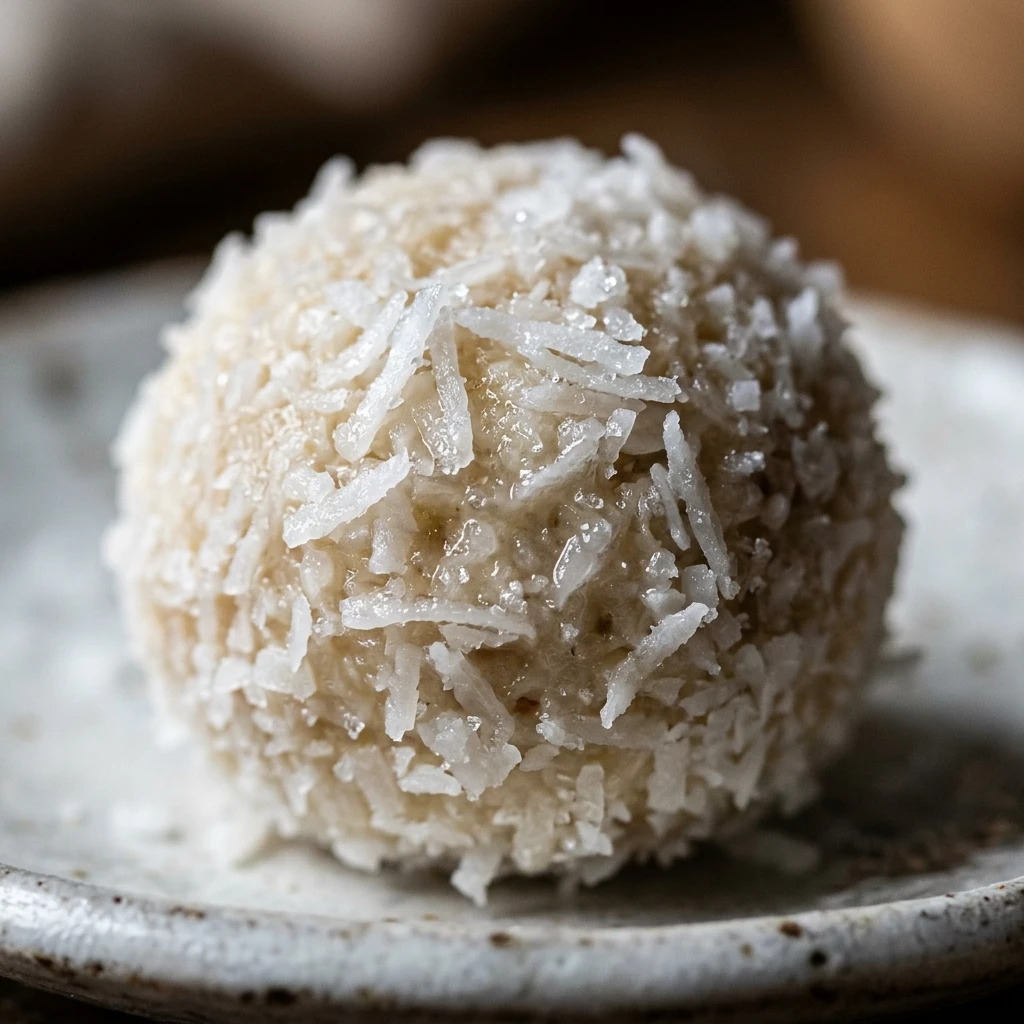

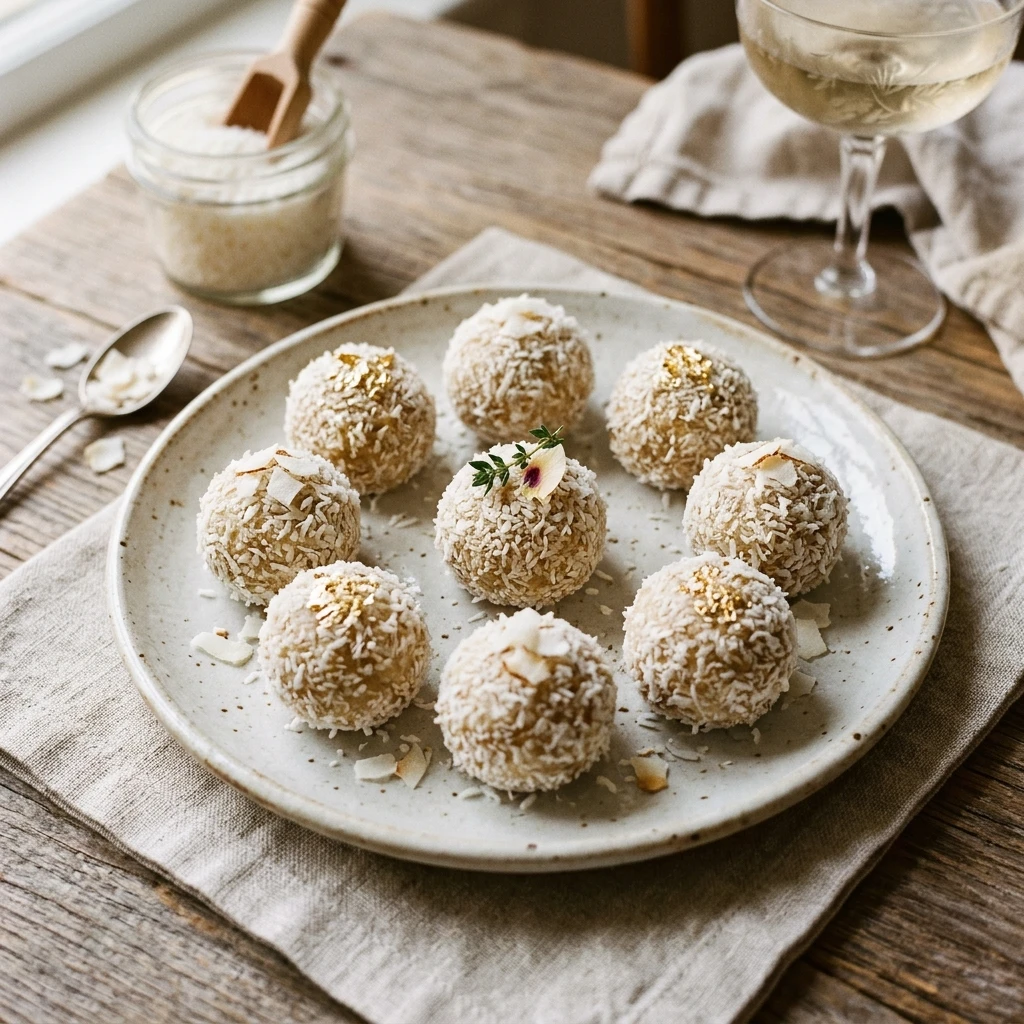
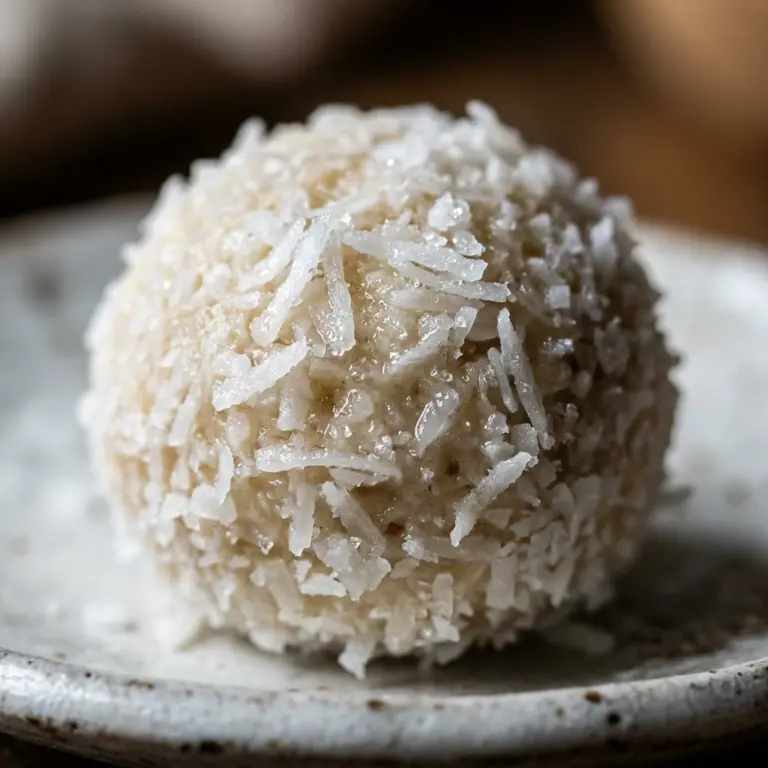
Imagine a dessert that looks like a miniature winter wonderland and tastes like a tropical getaway. These No-Bake Coconut Snowball Truffles are the ultimate treat for busy hosts and coconut lovers alike. With only a handful of ingredients and absolutely no oven time required, you can whip up a batch of these festive, melt-in-your-mouth delights in minutes. Whether you are looking for a quick holiday gift, a party platter addition, or a simple weeknight sweet, these snowballs deliver a rich, creamy texture and a satisfying crunch that will have everyone reaching for seconds.
Recipe Information
- Prep Time: 15 minutes
- Cook Time: 0 minutes
- Total Time: 15 minutes
- Servings: 20 truffles
- Difficulty: Easy
Nutrition values
- Calories: 95 kcal
- Protein: 1g
- Carbs: 11g
Why Make This No-Bake Coconut Snowball Truffles
You should make these truffles because they require zero baking skills and very little equipment. They are naturally gluten-free, making them a safe and inclusive option for gatherings. The combination of sweetened condensed milk and shredded coconut creates a fudge-like consistency that is incredibly decadent. Plus, their snowy appearance makes them a stunning centerpiece for holiday dessert boards without the stress of complicated decorating techniques.
Ingredients
- 3 cups shredded coconut (sweetened or unsweetened, plus extra for rolling)
- 2/3 cup sweetened condensed milk
- 1/2 teaspoon vanilla extract
- 1/4 teaspoon almond extract (optional)
- A pinch of sea salt
- 20 whole roasted almonds (optional, for the center)
Directions
Step 1: Combine the Base
In a large mixing bowl, combine 3 cups of shredded coconut, the sweetened condensed milk, vanilla extract, almond extract, and a pinch of salt. Use a sturdy spatula to fold the ingredients together until the coconut is thoroughly saturated and the mixture becomes sticky and uniform.
Step 2: Form the Truffles
Scoop about one tablespoon of the mixture into your palm. If you are using almonds, press one almond into the center of the mound. Squeeze the mixture firmly and roll it between your palms to form a tight, smooth ball about one inch in diameter. Ensure the ball is compact so it holds its shape.
Step 3: Coat and Set
Place the extra shredded coconut in a shallow bowl. Roll each formed truffle in the coconut, pressing gently so the shreds adhere to the surface and create a fuzzy, snowball look. Place the finished truffles on a parchment-lined tray. For the best texture, refrigerate them for at least 30 minutes before serving to allow them to firm up.
Expert Tips for Perfect No-Bake Coconut Snowball Truffles
To get the best results, use fine-shredded coconut rather than large flakes, as the smaller pieces hold together much better. If your mixture feels too wet to roll, add a tablespoon more of coconut at a time. If it feels too dry or crumbly, add a teaspoon of condensed milk. Wetting your hands slightly before rolling can prevent the mixture from sticking to your skin. For a cleaner look, use a small cookie scoop to ensure every snowball is exactly the same size.
Delicious Variations
You can easily customize these truffles to suit your taste. For a “Mounds” bar flavor, dip the finished balls in melted dark chocolate before rolling them in coconut. Add a bright citrus note by folding in one tablespoon of fresh lemon or lime zest. If you want a vegan version, substitute the sweetened condensed milk with sweetened condensed coconut milk. You can also replace the almond center with a maraschino cherry or a macadamia nut for a surprise tropical twist.
Frequently Asked Questions
How should I store these coconut truffles?
Store the truffles in an airtight container in the refrigerator for up to two weeks. They taste best when served slightly chilled.
Can I freeze No-Bake Coconut Snowball Truffles?
Yes! These freeze beautifully. Place them in a freezer-safe bag or container for up to three months. Thaw them in the fridge for an hour before eating.
Do I have to use sweetened condensed milk?
Sweetened condensed milk provides the necessary sugar and “glue” for this specific recipe. While you can use honey or maple syrup, the texture will be significantly different and may require more coconut to hold its shape.
Is this recipe gluten-free?
Yes, all the standard ingredients in this recipe are naturally gluten-free. Always check your specific brand labels to ensure no cross-contamination occurred during processing.
Can I use fresh coconut?
Freshly grated coconut works, but it contains more moisture than dried shredded coconut. You may need to increase the amount of coconut used to achieve the right rolling consistency.
Conclusion
No-Bake Coconut Snowball Truffles prove that you do not need an oven to create a sophisticated and delicious dessert. With their creamy interior and festive exterior, they are guaranteed to be a hit at any occasion. Simple to make and even easier to eat, these little treats are the perfect addition to your recipe tin. Give them a try today and enjoy a taste of the tropics in every bite!
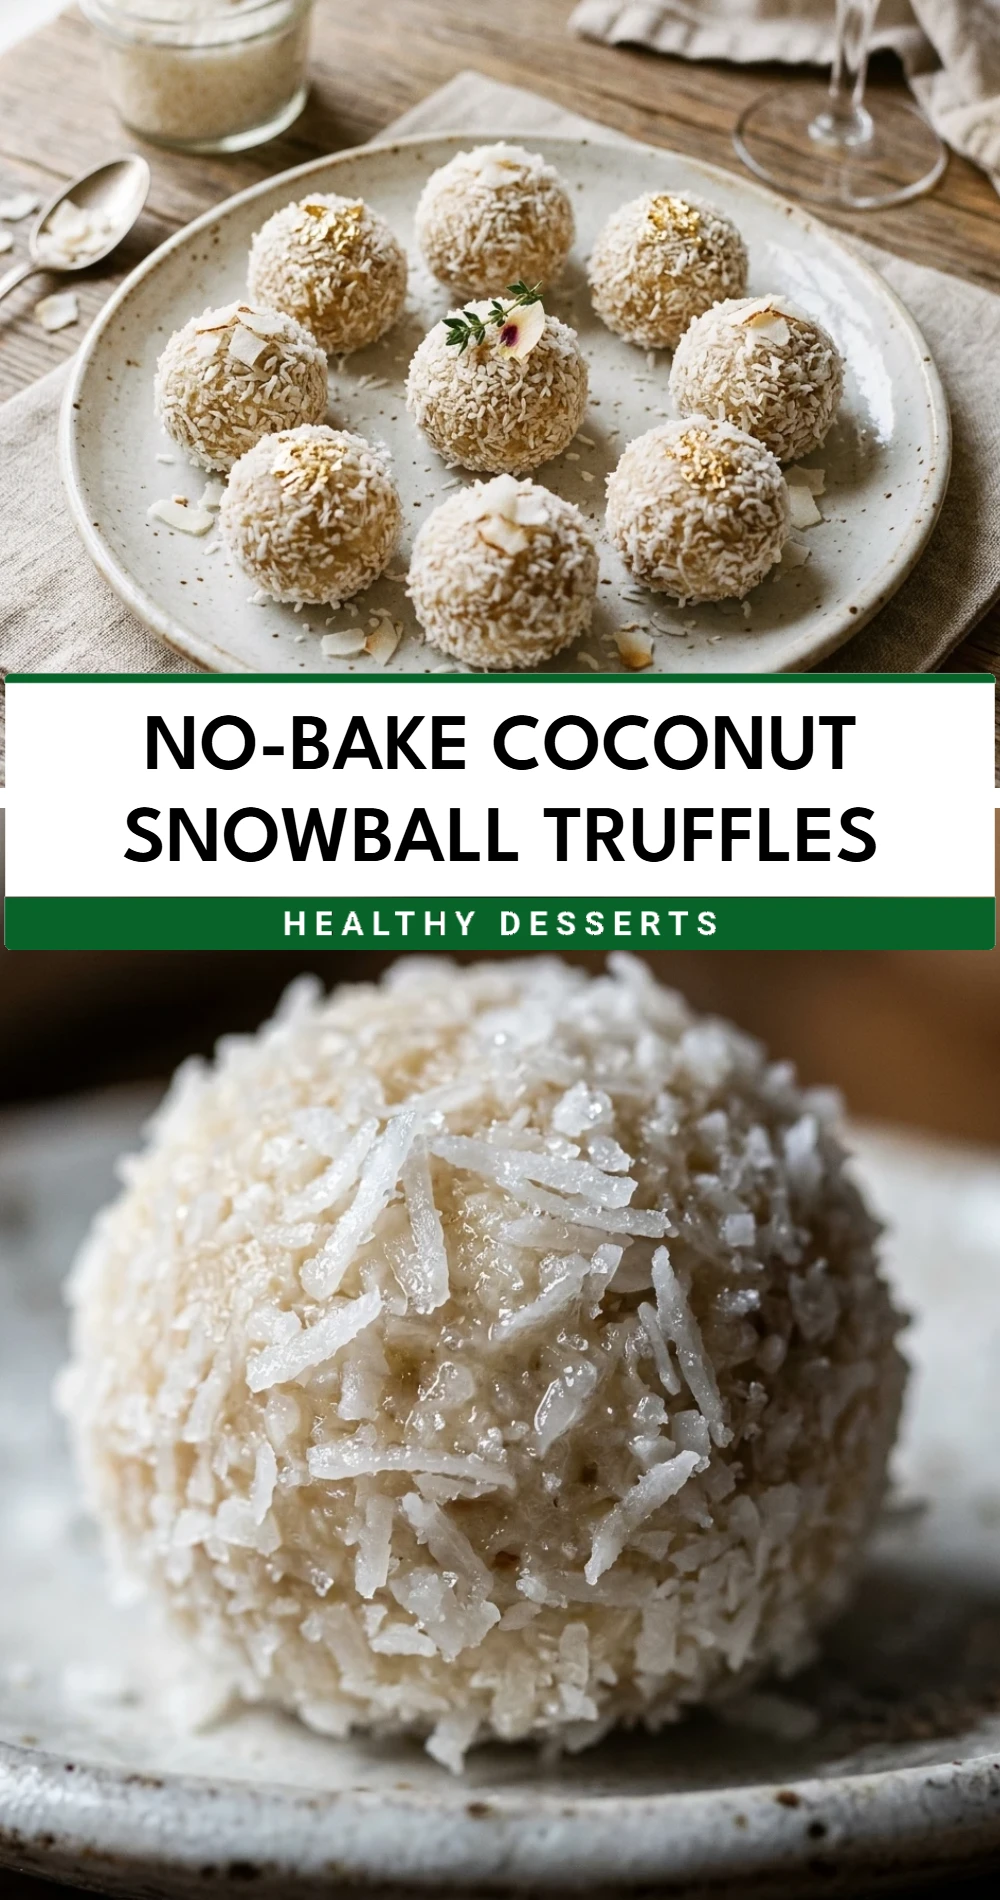
No-Bake Coconut Snowball Truffles
- Total Time: 15 minutes
Ingredients
- 3 cups shredded coconut (sweetened or unsweetened, plus extra for rolling)
- 2/3 cup sweetened condensed milk
- 1/2 teaspoon vanilla extract
- 1/4 teaspoon almond extract (optional)
- A pinch of sea salt
- 20 whole roasted almonds (optional, for the center)
Instructions
- In a large mixing bowl, combine 3 cups of shredded coconut, the sweetened condensed milk, vanilla extract, almond extract, and a pinch of salt. Use a sturdy spatula to fold the ingredients together until the coconut is thoroughly saturated and the mixture becomes sticky and uniform.
- Scoop about one tablespoon of the mixture into your palm. If you are using almonds, press one almond into the center of the mound. Squeeze the mixture firmly and roll it between your palms to form a tight, smooth ball about one inch in diameter. Ensure the ball is compact so it holds its shape.
- Place the extra shredded coconut in a shallow bowl. Roll each formed truffle in the coconut, pressing gently so the shreds adhere to the surface and create a fuzzy, snowball look. Place the finished truffles on a parchment-lined tray. For the best texture, refrigerate them for at least 30 minutes before serving to allow them to firm up.
- Cook Time: 15 minutes
- Diet: Gluten-Free