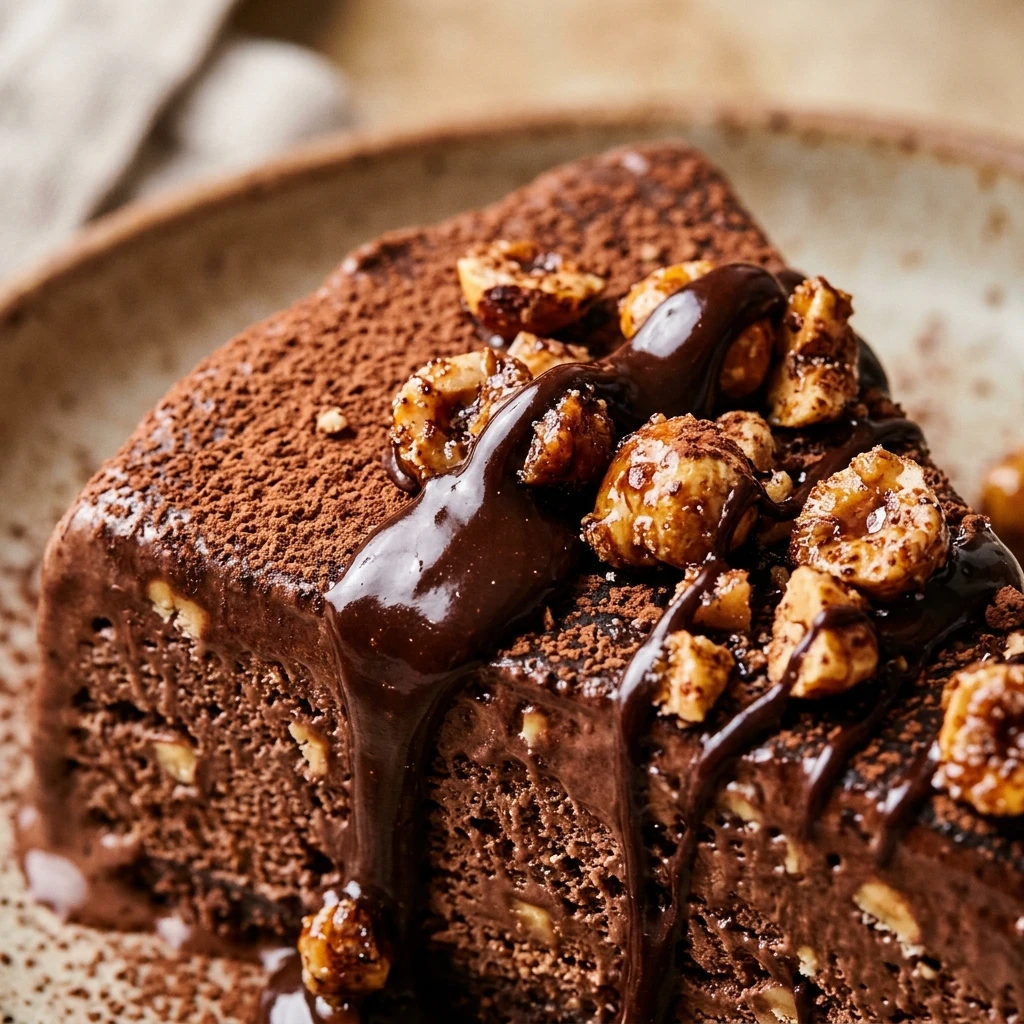
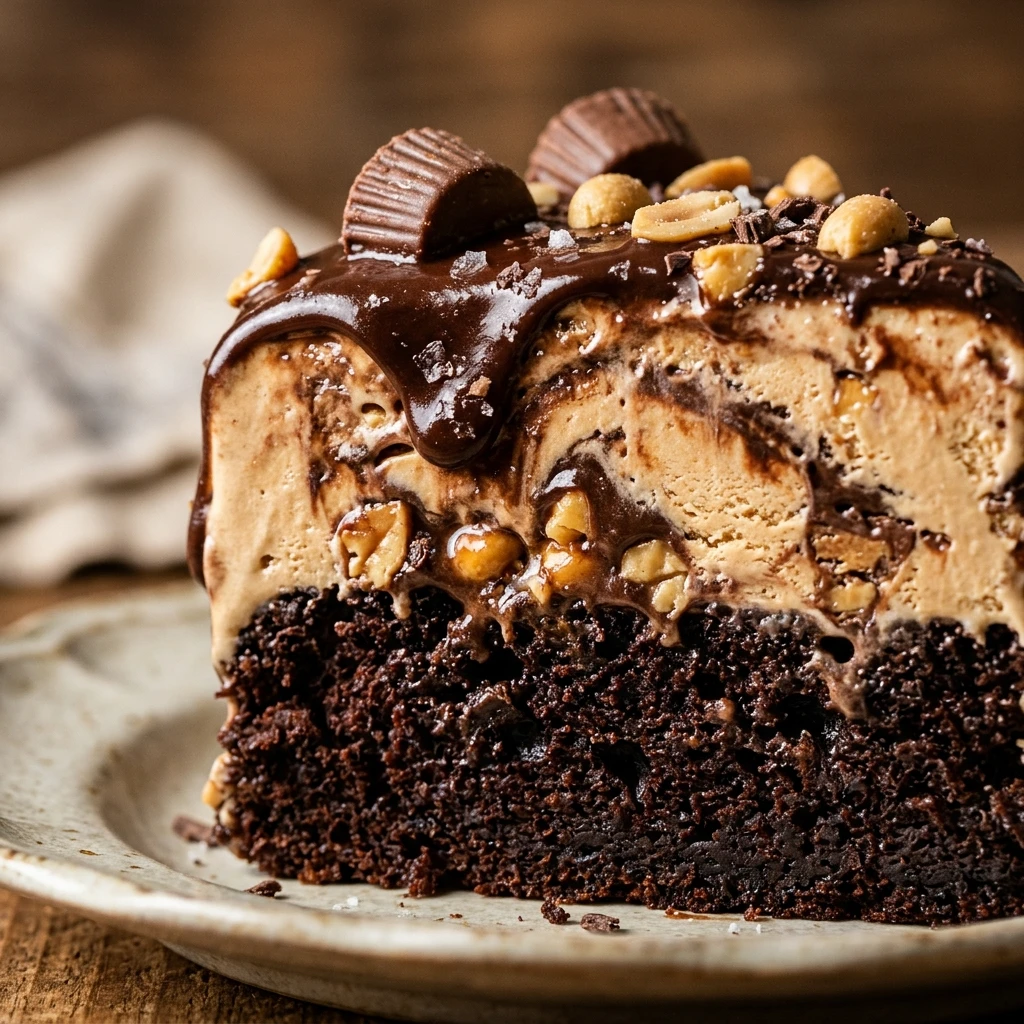

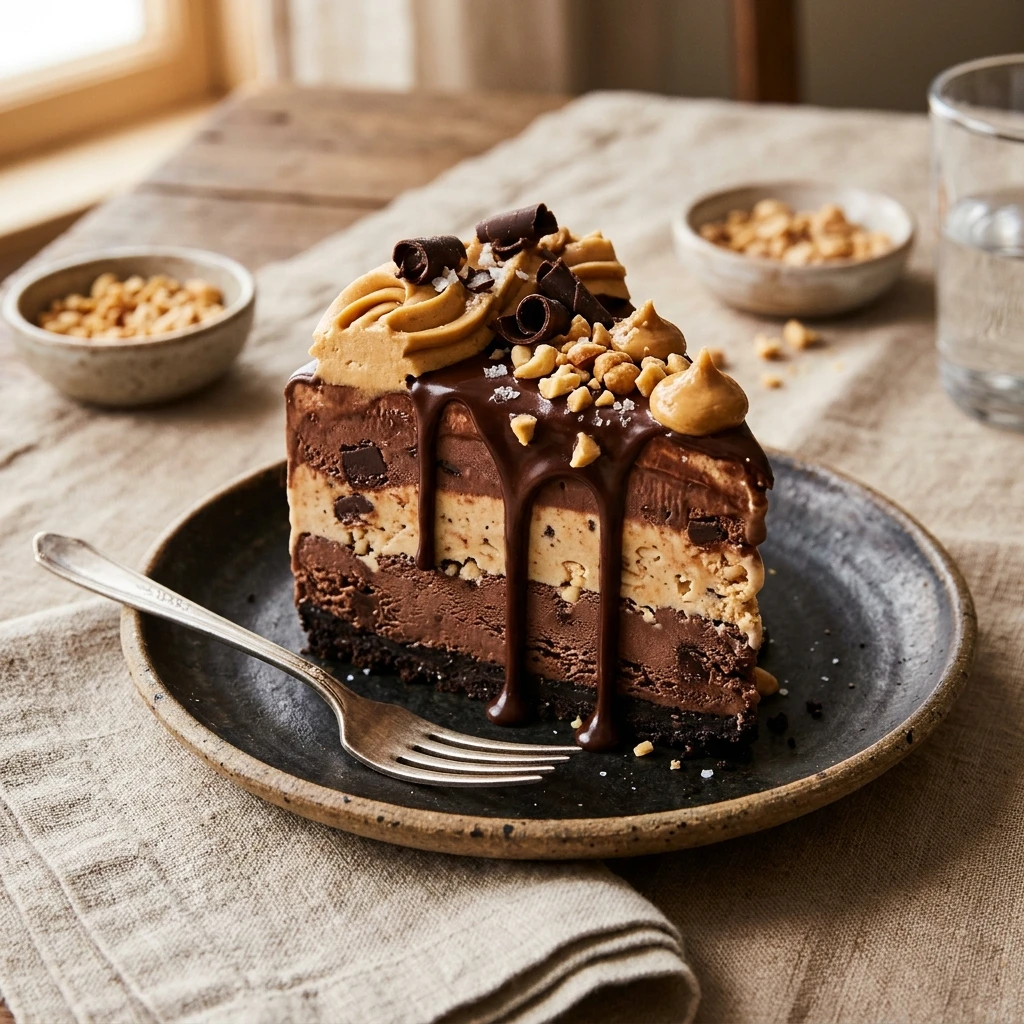
Imagine a dessert that combines the silky smoothness of peanut butter with the deep, rich indulgence of dark chocolate, all served at a refreshing, frosty temperature. This Chocolate Peanut Butter Ice Cream Cake is the ultimate showstopper for birthdays, summer parties, or any moment when you need a serious sugar fix. We are skipping the store-bought tubs and building a multi-layered masterpiece featuring a chewy brownie base, creamy peanut butter swirls, and a decadent chocolate ganache. It is the perfect marriage of textures—crunchy, creamy, and fudgy—that will have everyone reaching for seconds before the first slice even melts.
Recipe Information
- Prep Time: 30 minutes
- Cook Time: 25 minutes
- Total Time: 55 minutes (plus freezing time)
- Servings: 12 servings
- Difficulty: Medium
Nutrition values
- Calories: 580 kcal
- Protein: 9g
- Carbs: 62g
Why Make This Chocolate Peanut Butter Ice Cream Cake
This cake is a crowd-pleaser that appeals to both kids and adults. Unlike traditional cakes that can be dry, the ice cream layers ensure every bite is moist and cooling. By making it at home, you control the quality of the ingredients, allowing you to load up on extra peanut butter cups or use your favorite premium dark chocolate. Plus, it is a fantastic “make-ahead” dessert. You can prepare it days in advance and keep it tucked away in the freezer until the party starts, saving you from any last-minute kitchen stress.
Ingredients
- 1 box (18 oz) fudge brownie mix (plus ingredients required on the box)
- 1.5 quarts chocolate ice cream, slightly softened
- 1 cup creamy peanut butter
- 1/2 cup powdered sugar
- 1 teaspoon vanilla extract
- 8 oz cream cheese, softened
- 1 cup heavy whipping cream
- 1/2 cup semi-sweet chocolate chips
- 1 cup chopped peanut butter cups (for topping)
- Chocolate syrup for drizzling
Directions
Step 1: Bake the Brownie Base
Preheat your oven according to the brownie mix instructions. Grease a 9-inch springform pan thoroughly. Prepare the brownie batter and pour it into the pan. Bake for 20-25 minutes, or until a toothpick comes out with just a few moist crumbs. Do not overbake, as you want the base to remain chewy when frozen. Allow the brownie base to cool completely in the pan before moving to the next step.
Step 2: Prepare the Peanut Butter Layer
In a medium mixing bowl, beat the softened cream cheese, peanut butter, powdered sugar, and vanilla extract until the mixture is smooth and fluffy. In a separate bowl, whip 1/2 cup of the heavy cream until stiff peaks form. Gently fold the whipped cream into the peanut butter mixture. This creates a light, mousse-like texture that prevents the peanut butter layer from becoming too hard in the freezer.
Step 3: Layer the Ice Cream
Spread the softened chocolate ice cream evenly over the cooled brownie base. Use an offset spatula to smooth the surface. Spoon the peanut butter mixture over the ice cream layer and gently swirl it with a knife to create a marbled effect. Cover the pan with plastic wrap and freeze for at least 4 hours, or until the layers are firm.
Step 4: Create the Chocolate Ganache
Place the chocolate chips in a small heat-proof bowl. Heat the remaining 1/2 cup of heavy cream in the microwave or on the stove until it just begins to simmer. Pour the hot cream over the chocolate chips and let it sit for 5 minutes. Stir gently until the mixture is glossy and smooth. Let the ganache cool slightly so it is pourable but not hot enough to melt the ice cream.
Step 5: Garnish and Final Freeze
Remove the cake from the freezer and pour the chocolate ganache over the top, letting it drip slightly down the sides if desired. Immediately sprinkle the chopped peanut butter cups over the wet ganache. Drizzle with extra chocolate syrup for a professional finish. Return the cake to the freezer for at least 1 more hour to set the toppings. When ready to serve, run a warm knife around the edge of the springform pan before releasing the sides.
Expert Tips for Perfect Chocolate Peanut Butter Ice Cream Cake
For the cleanest slices, dip your knife in tall glass of hot water and wipe it dry between every single cut. This prevents the layers from smearing. Additionally, make sure your ice cream is “spreadable” but not “melted.” Leave it on the counter for about 10-15 minutes before you plan to layer it. If you use a springform pan, lining the bottom with parchment paper makes it much easier to transfer the entire cake to a serving platter later.
Delicious Variations
If you want a bit of crunch, swap the brownie base for a crust made of crushed chocolate sandwich cookies and melted butter. For a “salty-sweet” twist, add a layer of crushed pretzels between the ice cream and the peanut butter mousse. You can also experiment with different ice cream flavors; coffee ice cream or vanilla bean work exceptionally well with the peanut butter and chocolate components. For a vegan version, use a plant-based brownie mix, coconut milk-based ice cream, and dairy-free chocolate chips.
Frequently Asked Questions
How long does this cake stay fresh in the freezer?
When wrapped tightly in plastic wrap or stored in an airtight container, this cake will stay fresh and delicious for up to two weeks. Beyond that, it may begin to develop ice crystals which can affect the texture.
Can I use chunky peanut butter instead of creamy?
Yes, you can! Using chunky peanut butter adds a nice textural contrast to the smooth mousse layer. Just ensure the cream cheese is fully softened so the mixture remains easy to fold.
What if I don’t have a springform pan?
You can use a deep 9-inch cake pan or even a 9×13 baking dish. If using a regular pan, line it with parchment paper or plastic wrap with plenty of overhang so you can lift the entire cake out once it is frozen solid.
Why is my brownie base too hard to cut?
Brownies can become very firm when frozen. To prevent this, ensure you don’t overbake them. You can also add a tablespoon of vegetable oil to the mix to keep the crumb more pliable at low temperatures.
How long should I let the cake thaw before serving?
For the best eating experience, let the cake sit on the counter for about 10 to 15 minutes before slicing. This allows the ice cream to soften just enough to be creamy without losing its shape.
Conclusion
Creating a Chocolate Peanut Butter Ice Cream Cake at home is a rewarding experience that results in a dessert far superior to anything you would find in the freezer aisle. With its decadent layers and rich flavors, it is guaranteed to be the highlight of your next gathering. Don’t be afraid to get creative with your toppings and make this recipe your own. Grab your springform pan and start layering—your taste buds will thank you!
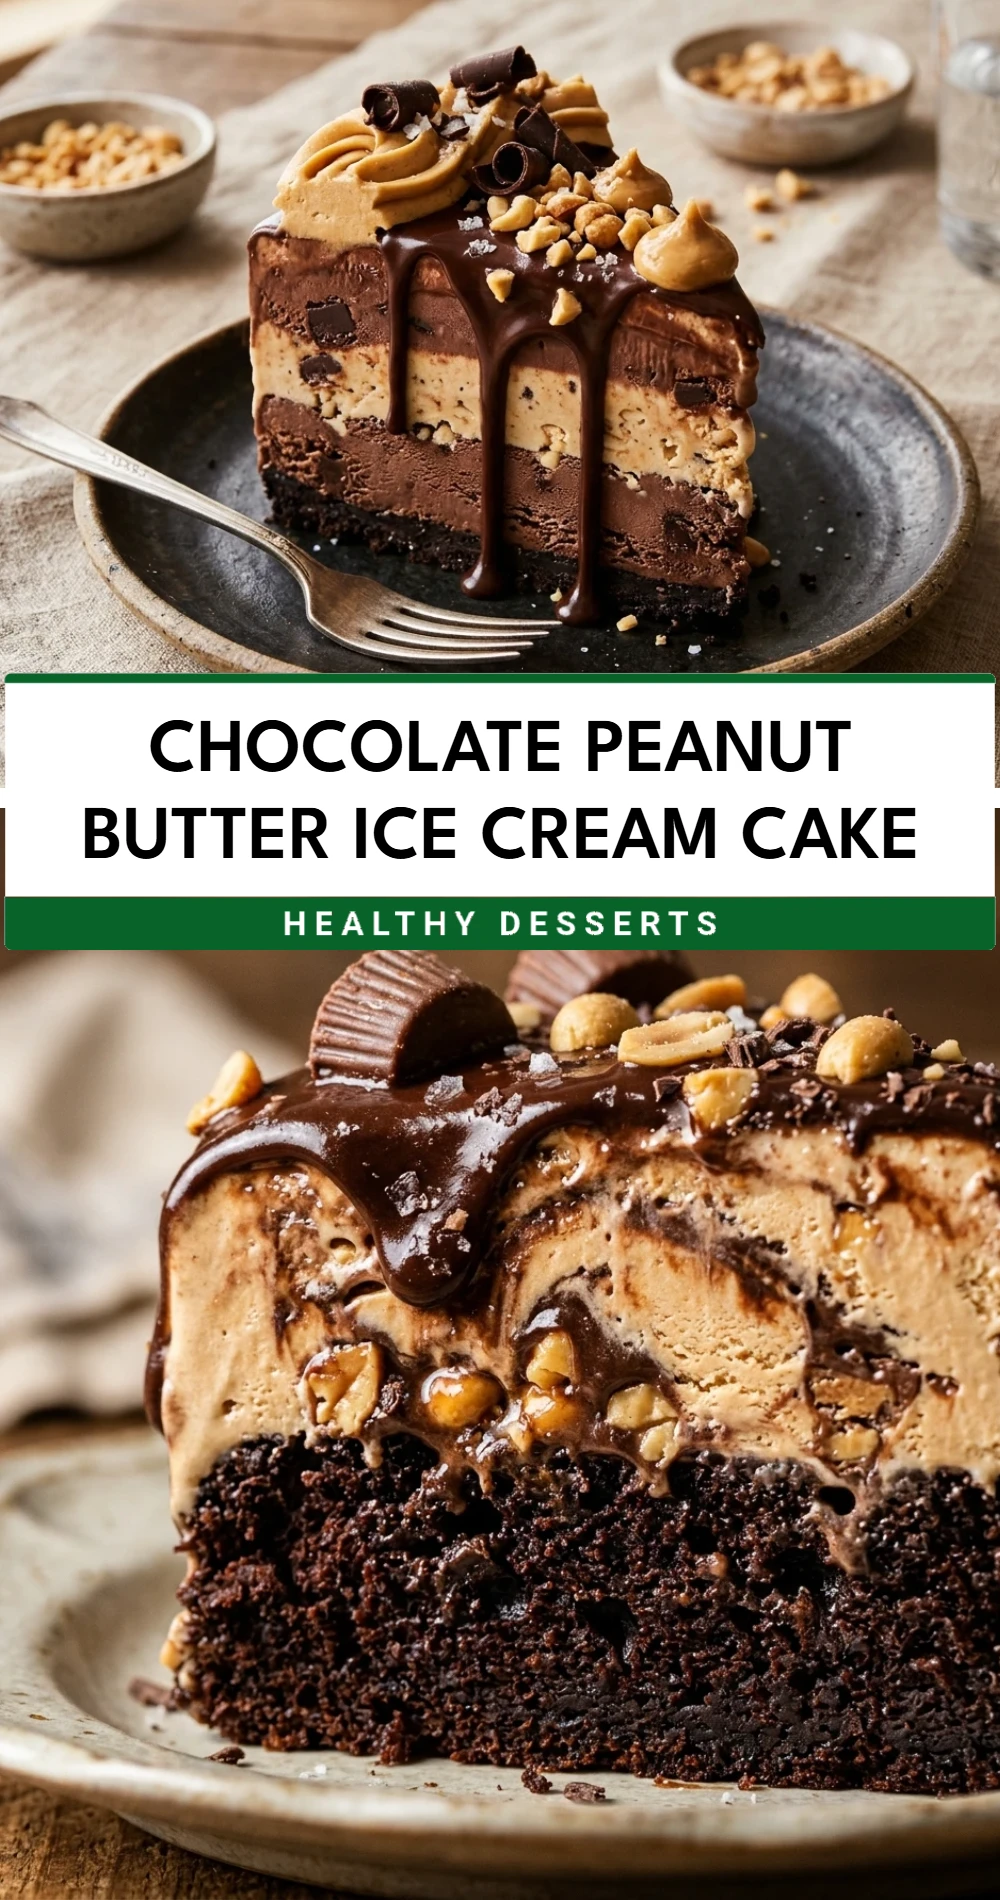
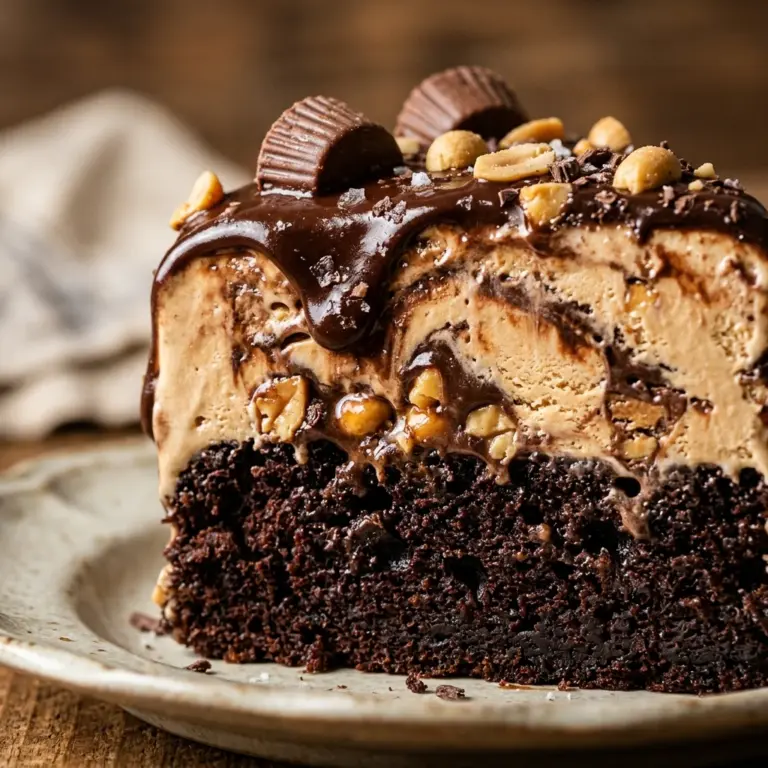
Chocolate Peanut Butter Ice Cream Cake
- Total Time: 55 minutes
Ingredients
- 1 box (18 oz) fudge brownie mix (plus ingredients required on the box)
- 1.5 quarts chocolate ice cream, slightly softened
- 1 cup creamy peanut butter
- 1/2 cup powdered sugar
- 1 teaspoon vanilla extract
- 8 oz cream cheese, softened
- 1 cup heavy whipping cream
- 1/2 cup semi-sweet chocolate chips
- 1 cup chopped peanut butter cups (for topping)
- Chocolate syrup for drizzling
Instructions
- Preheat your oven according to the brownie mix instructions. Grease a 9-inch springform pan thoroughly. Prepare the brownie batter and pour it into the pan. Bake for 20-25 minutes, or until a toothpick comes out with just a few moist crumbs. Do not overbake, as you want the base to remain chewy when frozen. Allow the brownie base to cool completely in the pan before moving to the next step.
- In a medium mixing bowl, beat the softened cream cheese, peanut butter, powdered sugar, and vanilla extract until the mixture is smooth and fluffy. In a separate bowl, whip 1/2 cup of the heavy cream until stiff peaks form. Gently fold the whipped cream into the peanut butter mixture. This creates a light, mousse-like texture that prevents the peanut butter layer from becoming too hard in the freezer.
- Spread the softened chocolate ice cream evenly over the cooled brownie base. Use an offset spatula to smooth the surface. Spoon the peanut butter mixture over the ice cream layer and gently swirl it with a knife to create a marbled effect. Cover the pan with plastic wrap and freeze for at least 4 hours, or until the layers are firm.
- Place the chocolate chips in a small heat-proof bowl. Heat the remaining 1/2 cup of heavy cream in the microwave or on the stove until it just begins to simmer. Pour the hot cream over the chocolate chips and let it sit for 5 minutes. Stir gently until the mixture is glossy and smooth. Let the ganache cool slightly so it is pourable but not hot enough to melt the ice cream.
- Remove the cake from the freezer and pour the chocolate ganache over the top, letting it drip slightly down the sides if desired. Immediately sprinkle the chopped peanut butter cups over the wet ganache. Drizzle with extra chocolate syrup for a professional finish. Return the cake to the freezer for at least 1 more hour to set the toppings. When ready to serve, run a warm knife around the edge of the springform pan before releasing the sides.
- Cook Time: 55 minutes (plus freezing time)
- Diet: Vegetarian