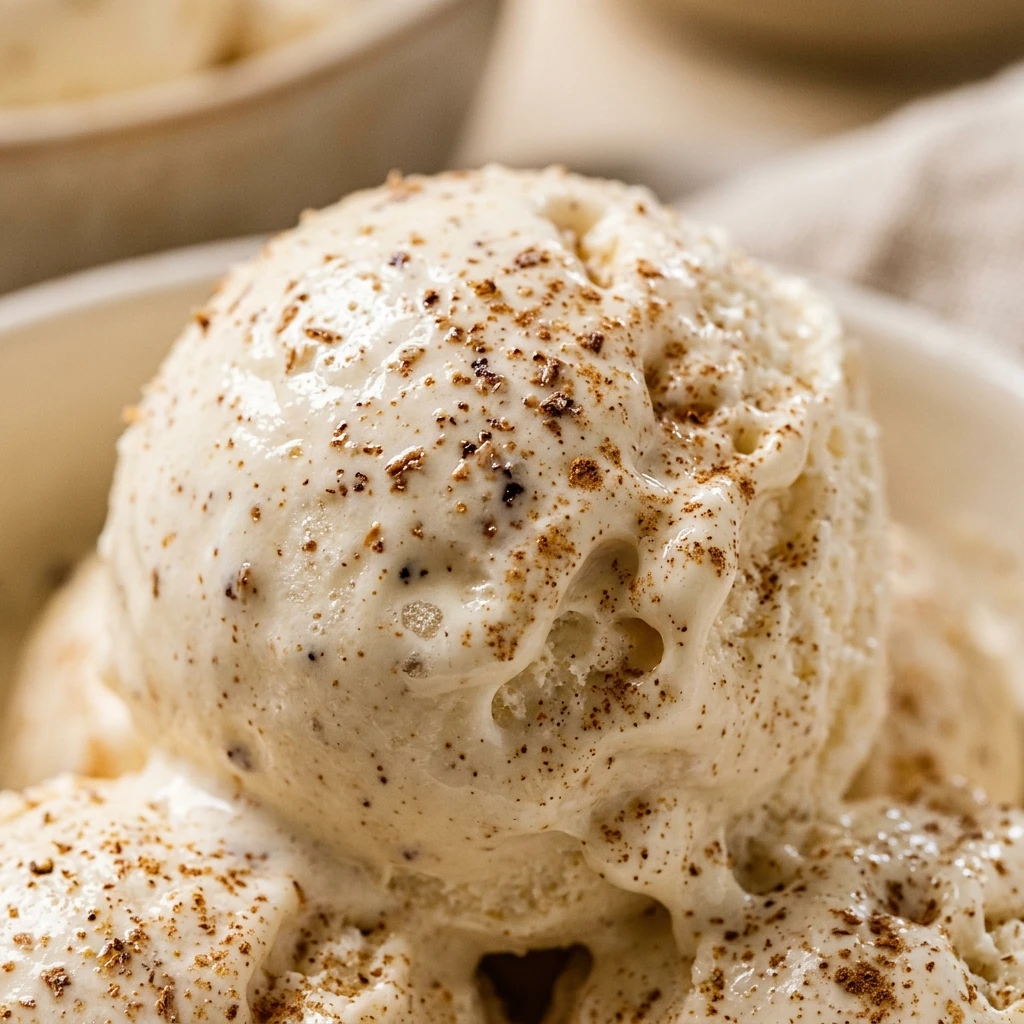

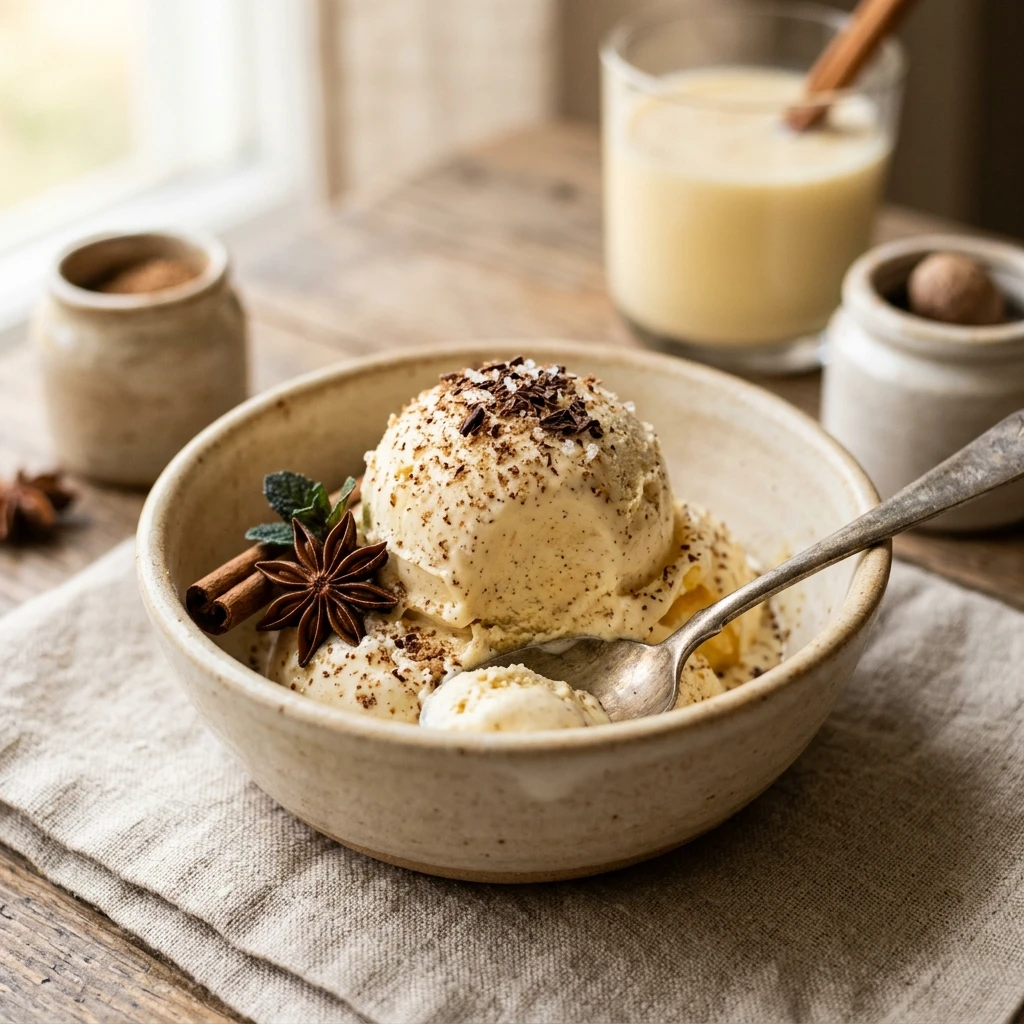
Imagine the cozy, spiced flavors of your favorite holiday drink transformed into a velvety, frozen treat. This Eggnog Ice Cream is the ultimate seasonal dessert, offering a rich custard base infused with aromatic nutmeg and a hint of vanilla. Whether you are serving it alongside a warm slice of apple pie or enjoying a scoop by the fireplace, this recipe brings the magic of the holidays straight to your freezer. It is thicker, creamier, and far more flavorful than anything you can find in a grocery store aisle.
Recipe Information
- Prep Time: 20 minutes
- Cook Time: 15 minutes
- Total Time: 35 minutes
- Servings: 8 servings
- Difficulty: Medium
Nutrition values
- Calories: 340 kcal
- Protein: 5g
- Carbs: 28g
Why Make This Eggnog Ice Cream
Making your own ice cream allows you to control the quality of the ingredients. Most store-bought eggnog ice creams rely on artificial flavorings, but this recipe uses real egg yolks and heavy cream for a genuine mouthfeel. It is the perfect way to use up extra eggnog from your holiday parties. Plus, the addition of fresh nutmeg provides a sophisticated flavor profile that appeals to both kids and adults. It is festive, indulgent, and surprisingly easy to master with a standard ice cream maker.
Ingredients
- 2 cups heavy cream
- 1 cup whole milk
- 1 cup high-quality store-bought or homemade eggnog
- 3/4 cup granulated sugar
- 5 large egg yolks
- 1 teaspoon vanilla extract
- 1/2 teaspoon freshly grated nutmeg
- 1/4 teaspoon salt
Directions
Step 1: Tempering the Egg Yolks
In a medium mixing bowl, whisk the egg yolks and granulated sugar together until the mixture looks pale and slightly thickened. Set this aside. In a heavy-bottomed saucepan, combine the whole milk, salt, and half of the heavy cream. Heat the mixture over medium heat until it begins to simmer gently. Do not let it reach a rolling boil. Slowly pour about half a cup of the hot milk mixture into the egg yolks while whisking constantly. This “tempers” the eggs, preventing them from scrambling when added to the hot liquid.
Step 2: Thickening the Custard Base
Pour the tempered egg mixture back into the saucepan with the remaining hot milk. Cook over medium-low heat, stirring continuously with a wooden spoon or heat-proof spatula. Continue cooking until the mixture thickens enough to coat the back of the spoon, which usually takes about 5 to 8 minutes. Remove the pan from the heat immediately. Stir in the remaining heavy cream, the eggnog, vanilla extract, and freshly grated nutmeg. Pour the mixture through a fine-mesh sieve into a clean bowl to ensure a perfectly smooth texture.
Step 3: Chilling and Churning
Cover the bowl with plastic wrap, pressing the wrap directly onto the surface of the custard to prevent a skin from forming. Refrigerate the base for at least 4 hours, though overnight is best. Once completely chilled, pour the mixture into your ice cream maker. Churn according to the manufacturer’s instructions, typically for about 20 to 25 minutes. Transfer the soft-serve consistency ice cream into a freezer-safe container. Freeze for at least 4 to 6 hours until firm before serving.
Expert Tips for Perfect Eggnog Ice Cream
For the best results, always use freshly grated nutmeg rather than the pre-ground bottled version; the flavor difference is immense. Ensure your ice cream maker’s bowl has been in the freezer for at least 24 hours before you start. If you want an even creamier texture, ensure your eggnog is full-fat. When cooking the custard, keep the heat low and slow. If the heat is too high, the eggs will cook too quickly and create lumps. Always strain your mixture through a fine-mesh sieve to catch any tiny bits of cooked egg for a professional finish.
Delicious Variations
You can easily customize this recipe to suit your taste. For a “Boozy Eggnog” version, stir in two tablespoons of bourbon, dark rum, or brandy after the custard has cooled. If you love texture, fold in crushed gingersnap cookies or white chocolate chips during the last three minutes of churning. For a festive visual appeal, swirl in some caramel sauce or a dash of cinnamon sugar before the final freeze. You can even use a dairy-free eggnog and coconut cream for a vegan-friendly alternative.
Frequently Asked Questions
Can I make this without an ice cream maker?
Yes, you can use the “no-churn” method. Whip the heavy cream to stiff peaks and fold it into the chilled custard base (omit the extra milk in the heating step for a thicker result), then freeze. However, the texture will be less airy than churned ice cream.
How long does this ice cream stay fresh?
When stored in an airtight container, this ice cream will stay fresh for up to two weeks. After that, it may begin to develop ice crystals and lose its creamy texture.
Is it safe to eat because of the eggs?
Yes. Since the egg yolks are cooked into a custard base reaching at least 160°F (71°C), they are fully pasteurized and safe to consume.
Can I use low-fat eggnog?
You can, but the ice cream will be less creamy and may develop more ice crystals. High fat content is essential for that signature velvety mouthfeel.
Why is my ice cream too hard to scoop?
Homemade ice cream lacks the stabilizers found in commercial brands. Let the container sit on the counter for 5 to 10 minutes before scooping to allow it to soften naturally.
Conclusion
Eggnog Ice Cream is a delightful way to celebrate the holiday season with a sophisticated twist. By following this custard-based method, you create a dessert that is rich, spiced, and incredibly satisfying. It is a wonderful project for home cooks looking to impress guests or simply treat themselves to a bowl of festive cheer. Grab your ice cream maker and start churning this seasonal favorite today!
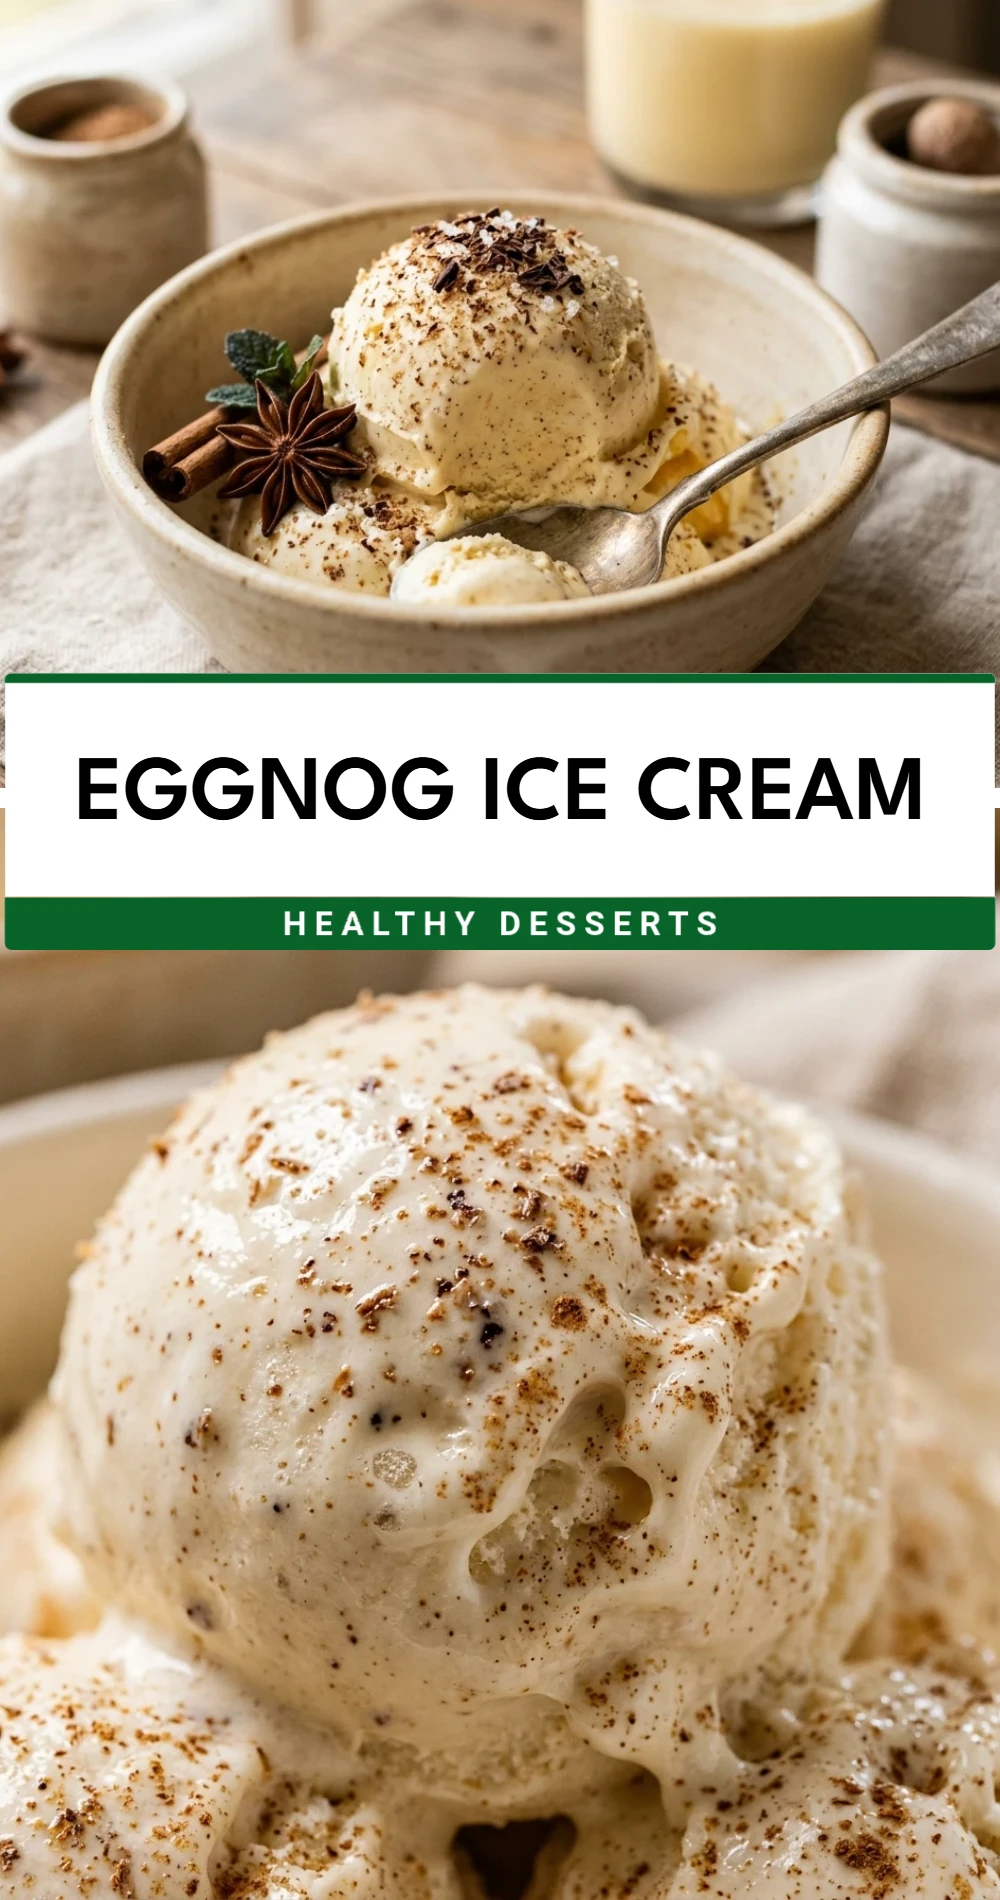
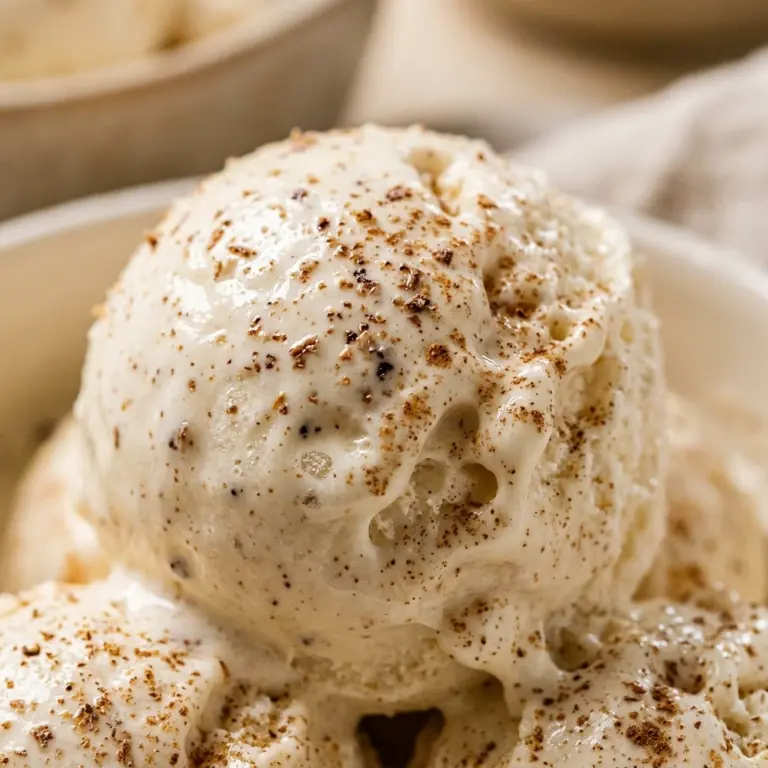
Eggnog Ice Cream
- Total Time: 35 minutes
Ingredients
- 2 cups heavy cream
- 1 cup whole milk
- 1 cup high-quality store-bought or homemade eggnog
- 3/4 cup granulated sugar
- 5 large egg yolks
- 1 teaspoon vanilla extract
- 1/2 teaspoon freshly grated nutmeg
- 1/4 teaspoon salt
Instructions
- Step 1: Tempering the Egg Yolks In a medium mixing bowl, whisk the egg yolks and granulated sugar together until the mixture looks pale and slightly thickened. Set this aside. In a heavy-bottomed saucepan, combine the whole milk, salt, and half of the heavy cream. Heat the mixture over medium heat until it begins to simmer gently. Do not let it reach a rolling boil. Slowly pour about half a cup of the hot milk mixture into the egg yolks while whisking constantly. This “tempers” the eggs, preventing them from scrambling when added to the hot liquid.
- Step 2: Thickening the Custard Base Pour the tempered egg mixture back into the saucepan with the remaining hot milk. Cook over medium-low heat, stirring continuously with a wooden spoon or heat-proof spatula. Continue cooking until the mixture thickens enough to coat the back of the spoon, which usually takes about 5 to 8 minutes. Remove the pan from the heat immediately. Stir in the remaining heavy cream, the eggnog, vanilla extract, and freshly grated nutmeg. Pour the mixture through a fine-mesh sieve into a clean bowl to ensure a perfectly smooth texture.
- Step 3: Chilling and Churning Cover the bowl with plastic wrap, pressing the wrap directly onto the surface of the custard to prevent a skin from forming. Refrigerate the base for at least 4 hours, though overnight is best. Once completely chilled, pour the mixture into your ice cream maker. Churn according to the manufacturer’s instructions, typically for about 20 to 25 minutes. Transfer the soft-serve consistency ice cream into a freezer-safe container. Freeze for at least 4 to 6 hours until firm before serving.
- Cook Time: 35 minutes
- Diet: Vegetarian