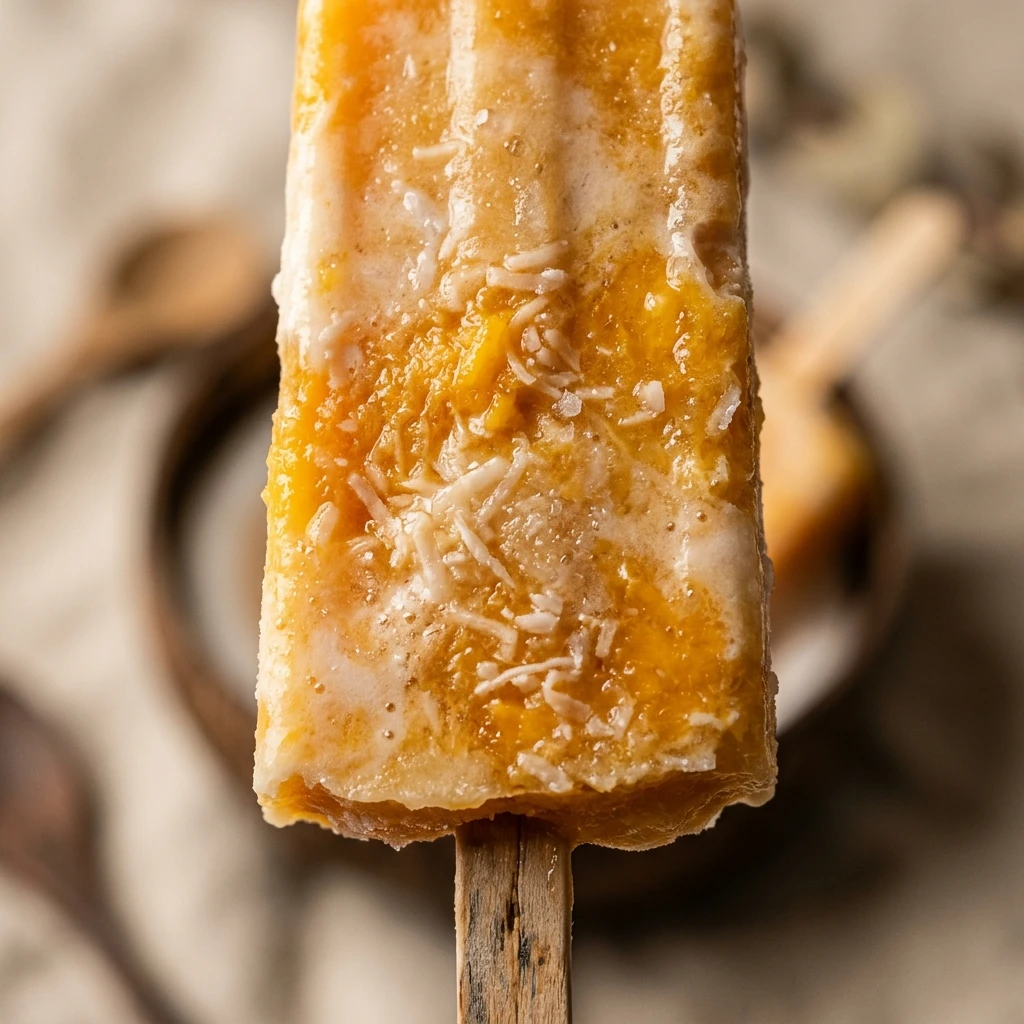

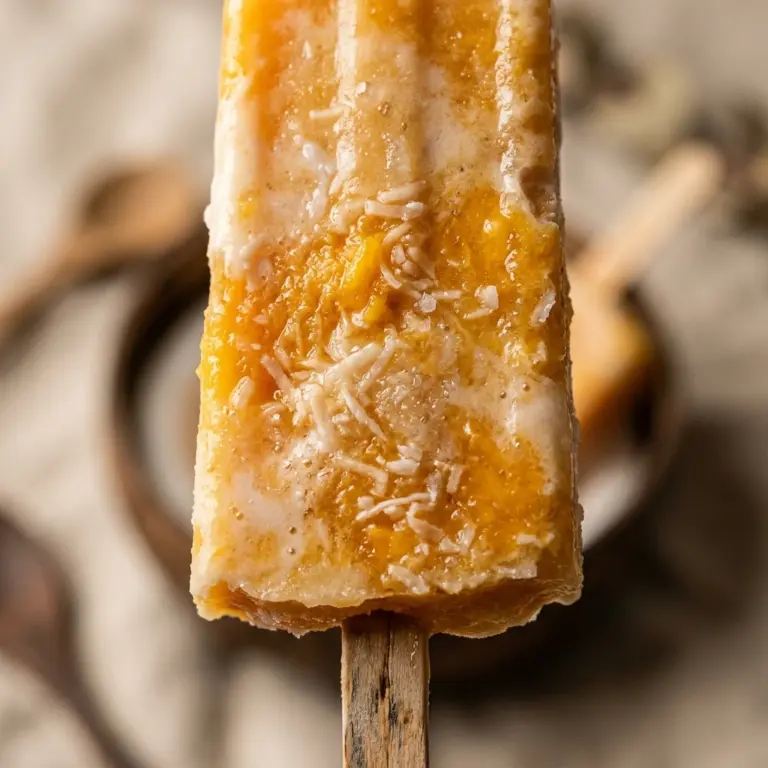
Transport your taste buds to a sun-drenched tropical island with these incredibly refreshing Mango Coconut Popsicles. There is something magical about the pairing of velvety coconut milk and sweet, sun-ripened mangoes that screams summer perfection. These treats are not just delicious; they are a healthier alternative to store-bought snacks, featuring whole fruit and creamy plant-based fats. Whether you are lounging by the pool or looking for a post-dinner palate cleanser, these vibrant popsicles deliver a burst of sunshine in every bite. They are incredibly easy to whip up and even more fun to eat!
Recipe Information
- Prep Time: 15 minutes
- Cook Time: 0 minutes
- Total Time: 15 minutes
- Servings: 6 servings
- Difficulty: Easy
Nutrition values
- Calories: 145 kcal
- Protein: 1.5g
- Carbs: 19g
Why Make This Mango Coconut Popsicles
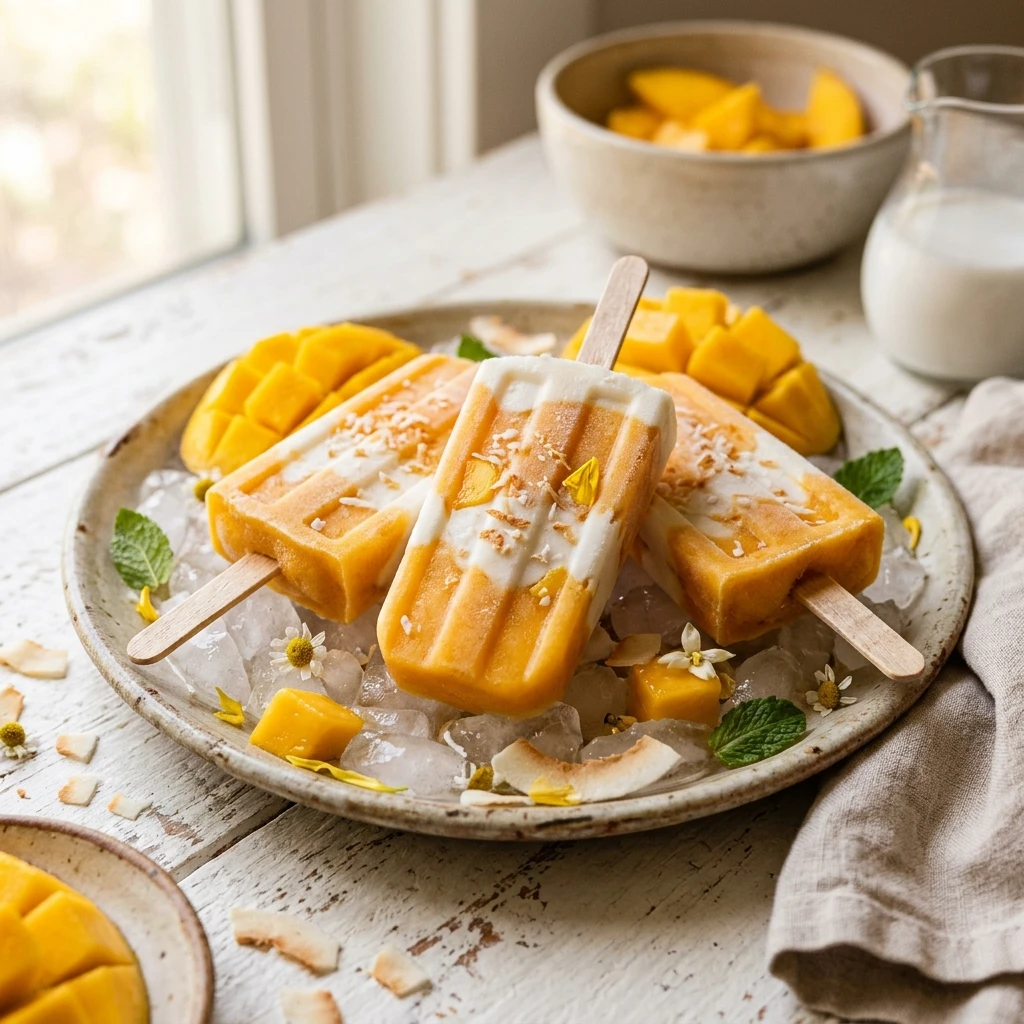
You should make these popsicles because they satisfy your sweet tooth without any artificial additives or processed sugars. They are naturally vegan, gluten-free, and dairy-free, making them an inclusive treat for guests with dietary restrictions. The combination of healthy fats from the coconut milk and the vitamin-rich mango creates a satiating snack that keeps you energized. Plus, the beautiful swirling pattern of yellow and white makes them look like professional artisanal popsicles from a fancy boutique, but for a fraction of the cost.
Ingredients
- 2 large ripe mangoes (preferably Ataulfo or Champagne mangoes)
- 1 can (13.5 oz) full-fat coconut milk
- 3 tablespoons maple syrup or agave nectar (divided)
- 1 tablespoon fresh lime juice
- 1/2 teaspoon vanilla extract
- A tiny pinch of sea salt
Directions
Step 1: Prepare the Mango Puree
Peel the mangoes and cut the flesh away from the large inner pits. Place the mango chunks into a high-speed blender. Add one tablespoon of your chosen sweetener and the fresh lime juice. Blend on high until the mixture is completely smooth and vibrant. If your mangoes are slightly fibrous, you can pour the puree through a fine-mesh sieve to ensure a silky texture.
Step 2: Mix the Coconut Base
In a medium mixing bowl, whisk together the full-fat coconut milk, the remaining two tablespoons of sweetener, the vanilla extract, and a pinch of sea salt. Stir vigorously until the coconut cream and water are fully incorporated and the sweetener has dissolved. The salt is essential here as it enhances the natural sweetness of the coconut.
Step 3: Layer the Popsicle Molds
To create a beautiful marbled effect, alternate pouring the mango puree and the coconut mixture into your popsicle molds. Start with a spoonful of mango, followed by a spoonful of coconut. Use a small skewer or a butter knife to gently swirl the layers together. Leave about a quarter-inch of space at the top of each mold to allow for expansion as the liquid freezes.
Step 4: Freeze and Set
Gently tap the popsicle molds on the counter to remove any trapped air bubbles. Insert the popsicle sticks into the centers. Place the molds in the flattest part of your freezer. Let them chill for at least 4 to 6 hours, or ideally overnight, until they are completely solid and ready to enjoy.
Expert Tips for Perfect Mango Coconut Popsicles
Always choose the ripest mangoes possible. A ripe mango should feel slightly soft when squeezed and emit a sweet aroma near the stem. For the creamiest texture, never use “lite” coconut milk; the fat content in full-fat coconut milk prevents the popsicles from becoming icy. If you have trouble removing the popsicles from the mold, run the outside of the mold under warm water for 10 to 15 seconds. This will loosen the edges and allow the popsicles to slide out perfectly without breaking.
Delicious Variations
If you want a spicy kick, add a sprinkle of Tajin or a tiny pinch of cayenne pepper to the mango puree. For added texture, stir in a tablespoon of chia seeds or shredded coconut into the coconut milk mixture before pouring. You can also turn these into “creamsicles” by blending the mango and coconut milk together completely for a uniform, pale orange color. For a decadent twist, dip the frozen popsicles in melted dark chocolate and sprinkle with crushed macadamia nuts.
Frequently Asked Questions
Can I use frozen mango chunks instead of fresh?
Yes, you can use frozen mango. Just make sure to thaw the chunks completely before blending to ensure a smooth puree. You may need to add a splash of water or orange juice if the mixture is too thick.
How long do these popsicles last in the freezer?
These popsicles are best consumed within 2 to 3 weeks. After that, they may start to develop ice crystals or lose their vibrant flavor. Keep them in an airtight container once they are fully frozen to prevent them from absorbing freezer odors.
Do I have to use a sweetener?
If your mangoes are exceptionally sweet, you can omit the maple syrup entirely. Taste your puree before freezing; remember that flavors become slightly muted when frozen, so the mixture should taste a bit sweeter than your desired final result.
Can I use coconut water instead of coconut milk?
You can, but the result will be a “sorbet” style popsicle rather than a creamy one. Coconut water has a higher water content, which leads to a crunchier, icier texture.
What is the best type of popsicle mold to use?
Silicone molds are generally the easiest to work with because they are flexible, making it simple to pop the treats out. However, classic plastic molds work just as well if you use the warm water trick to release them.
Conclusion
These Mango Coconut Popsicles are the ultimate summer DIY project. They are simple enough for kids to help with and sophisticated enough to serve at a backyard dinner party. By using fresh fruit and rich coconut milk, you create a snack that is both indulgent and nourishing. Give this recipe a try during the next heatwave, and you will never want to go back to store-bought frozen treats again. Enjoy your homemade tropical escape!
Mango Coconut Popsicles
- Total Time: 15 minutes
Ingredients
- 2 large ripe mangoes (preferably Ataulfo or Champagne mangoes)
- 1 can (13.5 oz) full-fat coconut milk
- 3 tablespoons maple syrup or agave nectar (divided)
- 1 tablespoon fresh lime juice
- 1/2 teaspoon vanilla extract
- A tiny pinch of sea salt
Instructions
- Step 1: Prepare the Mango Puree – Peel the mangoes and cut the flesh away from the large inner pits. Place the mango chunks into a high-speed blender. Add one tablespoon of your chosen sweetener and the fresh lime juice. Blend on high until the mixture is completely smooth and vibrant. If your mangoes are slightly fibrous, you can pour the puree through a fine-mesh sieve to ensure a silky texture.
- Step 2: Mix the Coconut Base – In a medium mixing bowl, whisk together the full-fat coconut milk, the remaining two tablespoons of sweetener, the vanilla extract, and a pinch of sea salt. Stir vigorously until the coconut cream and water are fully incorporated and the sweetener has dissolved. The salt is essential here as it enhances the natural sweetness of the coconut.
- Step 3: Layer the Popsicle Molds – To create a beautiful marbled effect, alternate pouring the mango puree and the coconut mixture into your popsicle molds. Start with a spoonful of mango, followed by a spoonful of coconut. Use a small skewer or a butter knife to gently swirl the layers together. Leave about a quarter-inch of space at the top of each mold to allow for expansion as the liquid freezes.
- Step 4: Freeze and Set – Gently tap the popsicle molds on the counter to remove any trapped air bubbles. Insert the popsicle sticks into the centers. Place the molds in the flattest part of your freezer. Let them chill for at least 4 to 6 hours, or ideally overnight, until they are completely solid and ready to enjoy.
- Cook Time: 15 minutes
- Diet: Vegan, Gluten-Free, Dairy-Free