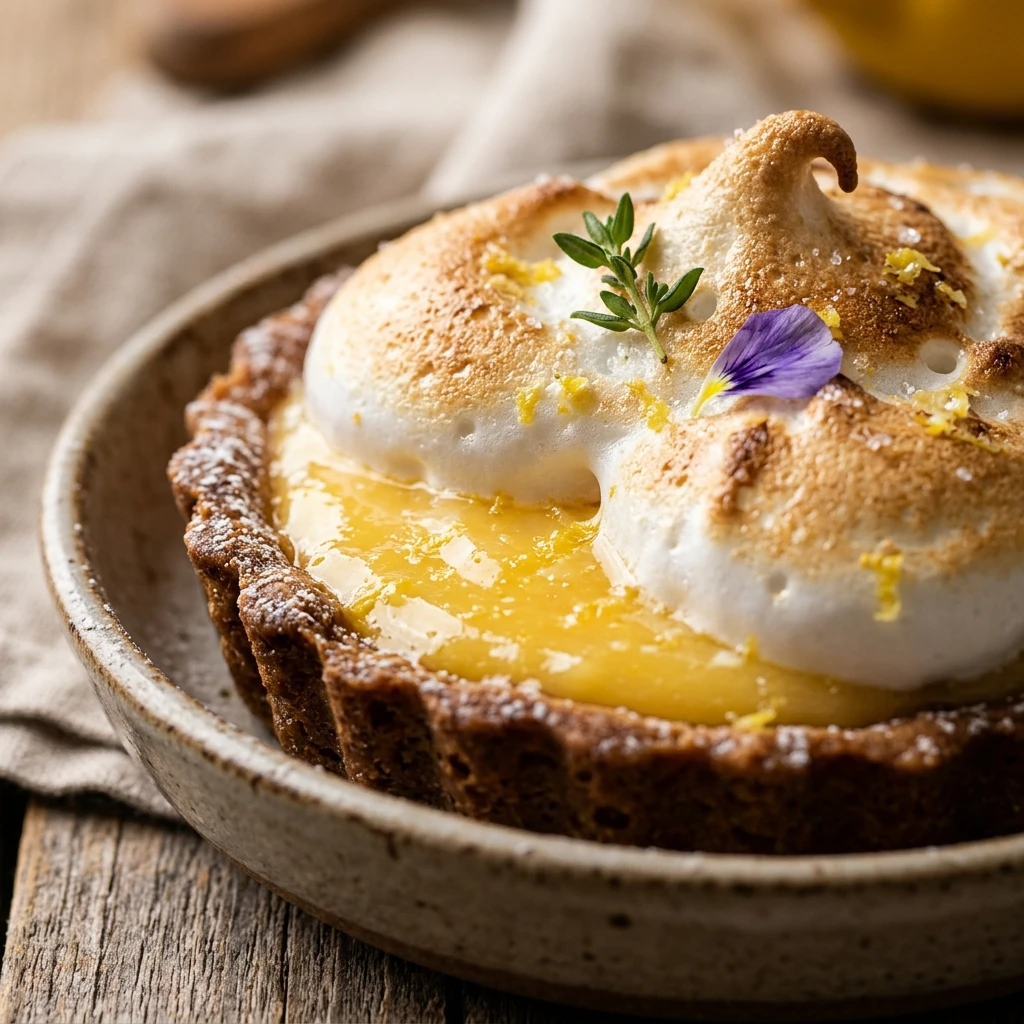

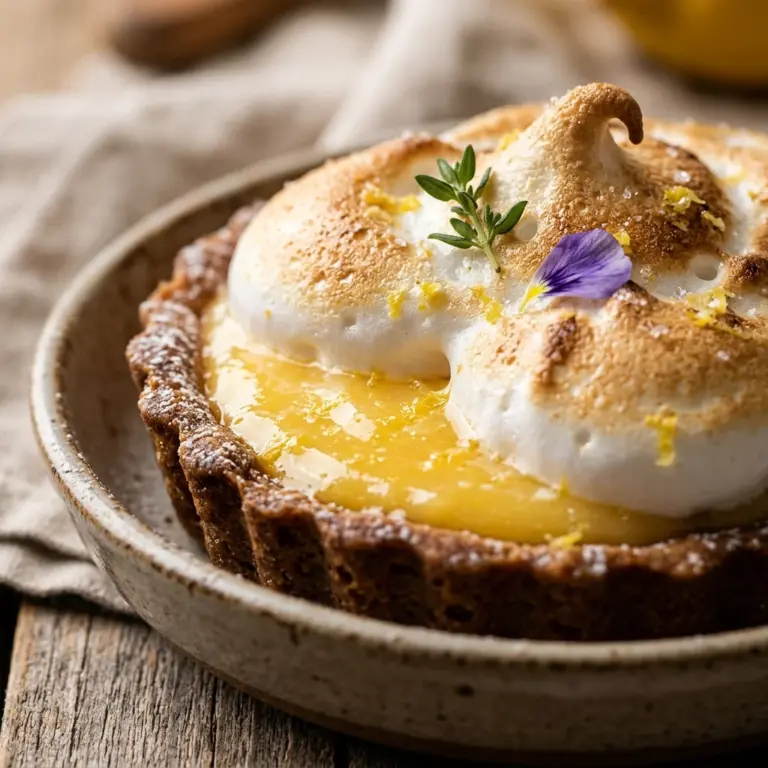
There is something truly magical about the combination of a buttery, shortbread-like crust and the vibrant, zingy punch of fresh lemon curd. This Classic Lemon Curd Tart is the ultimate dessert for anyone who loves a balance of sweet and sour. It looks elegant enough for a high-end dinner party, yet it feels cozy and nostalgic like a treat from a neighborhood bakery. Whether you are hosting a sunny backyard brunch or looking for a bright finish to a heavy meal, this tart delivers a burst of sunshine in every single bite.
Recipe Information
- Prep Time: 30 minutes
- Cook Time: 25 minutes
- Total Time: 55 minutes
- Servings: 8
- Difficulty: Medium
Nutrition values
- Calories: 345 kcal
- Protein: 5g
- Carbs: 42g
Why Make This Classic Lemon Curd Tart
This tart is a showstopper that requires surprisingly humble ingredients. Unlike store-bought versions, a homemade lemon tart uses real butter and fresh citrus, resulting in a silky texture and a sharp, clean flavor that artificial extracts simply cannot match. It is the perfect recipe for mastering “blind baking” and custard making. Plus, the contrast between the crisp, crumbly crust and the velvety smooth filling creates a sensory experience that will have your guests asking for seconds.
Ingredients
For the Crust:
- 1 ½ cups all-purpose flour
- ½ cup unsalted butter, chilled and cubed
- ¼ cup powdered sugar
- 1 large egg yolk
- 1 tablespoon ice water
- Pinch of salt
For the Lemon Curd Filling:
- ¾ cup fresh lemon juice (about 3-4 large lemons)
- 1 tablespoon lemon zest
- ¾ cup granulated sugar
- 3 large eggs plus 2 egg yolks
- ½ cup unsalted butter, cut into small pieces
Directions
Step 1: Prepare the Pastry Dough
Combine the flour, powdered sugar, and salt in a food processor. Pulse a few times to mix. Add the cold, cubed butter and pulse until the mixture looks like coarse crumbs. Add the egg yolk and ice water. Pulse just until the dough starts to clump together. Turn the dough out onto a floured surface, form it into a disk, wrap it in plastic, and chill in the fridge for at least 30 minutes.
Step 2: Blind Bake the Tart Shell
Preheat your oven to 375°F (190°C). Roll out the chilled dough to fit a 9-inch tart pan with a removable bottom. Press the dough firmly into the edges and trim the excess. Prick the bottom with a fork. Line the dough with parchment paper and fill it with pie weights or dried beans. Bake for 12 minutes, then remove the weights and parchment. Bake for another 5-8 minutes until the crust is lightly golden. Set aside to cool.
Step 3: Cook the Lemon Curd
In a medium saucepan, whisk together the lemon juice, lemon zest, sugar, eggs, and egg yolks. Place the pan over medium-low heat. Stir constantly with a whisk or wooden spoon. After about 5-8 minutes, the mixture will thicken enough to coat the back of a spoon. Do not let it boil, or the eggs might scramble. Remove from heat and immediately whisk in the cold butter pieces one by one until the filling is glossy and smooth.
Step 4: Fill and Set the Tart
Strain the lemon curd through a fine-mesh sieve directly into the pre-baked tart shell to ensure a perfectly smooth texture. Smooth the top with a spatula. Place the tart back in the oven at 350°F (175°C) for 5 minutes just to set the filling slightly. Remove from the oven and let it cool to room temperature on a wire rack.
Step 5: Chill and Serve
Once the tart reaches room temperature, transfer it to the refrigerator. Chill for at least 2 to 4 hours, or until the filling is firm and cold. When ready to serve, carefully remove the sides of the tart pan. Dust with powdered sugar or garnish with fresh berries and mint leaves for a beautiful presentation.
Expert Tips for Perfect Classic Lemon Curd Tart
Always use fresh lemons for this recipe. Bottled lemon juice lacks the complex acidity and aroma of fresh citrus. To ensure your crust doesn’t shrink, make sure the butter is ice-cold when you start and let the dough rest in the fridge properly. If you are worried about bits of cooked egg in your filling, straining the curd through a sieve is a non-negotiable step for a professional finish. Finally, don’t rush the cooling process; the curd needs time to set properly so you get clean, beautiful slices.

Delicious Variations
You can easily put a twist on this classic. Try a Lime Curd Tart by swapping the lemon juice and zest for lime. For a Berry Lemon Tart, place a layer of fresh raspberries or blueberries at the bottom of the crust before pouring in the curd. If you prefer a sweeter finish, top the tart with a fluffy Meringue and toast it with a kitchen torch. You can also add a pinch of culinary lavender to the crust dough for a sophisticated floral note.
Frequently Asked Questions
Can I use a store-bought pie crust?
Yes, you can use a store-bought refrigerated pie crust or a frozen tart shell to save time. However, a homemade shortbread crust provides a much better texture and flavor for this specific dessert.
Why is my lemon curd runny?
The curd likely didn’t cook long enough to thicken, or it didn’t have enough time to set in the fridge. Ensure you cook it until it coats the back of a spoon and give it at least 2 hours of chill time.
How long does this tart stay fresh?
You can store the tart in the refrigerator for up to 3 days. Keep it covered so it doesn’t absorb any other flavors from the fridge.
Can I freeze the lemon tart?
It is not recommended to freeze the fully assembled tart, as the texture of the curd can become grainy or watery upon thawing. However, you can freeze the unbaked pastry dough for up to 3 months.
Do I have to use a tart pan with a removable bottom?
While not strictly required, a removable bottom makes it much easier to serve the tart and showcase the beautiful fluted edges of the crust.
Conclusion
This Classic Lemon Curd Tart is a testament to the beauty of simple ingredients. With a little patience and plenty of fresh lemons, you can create a dessert that is as refreshing as it is indulgent. It is the perfect recipe to keep in your repertoire for spring celebrations, summer parties, or any time you need a little citrus sunshine on your plate. Enjoy the process of baking this masterpiece and savor every tangy, buttery bite!

Classic Lemon Curd Tart
- Total Time: 55 minutes
Ingredients
- For the Crust:
- 1 ½ cups all-purpose flour
- ½ cup unsalted butter, chilled and cubed
- ¼ cup powdered sugar
- 1 large egg yolk
- 1 tablespoon ice water
- Pinch of salt
- For the Lemon Curd Filling:
- ¾ cup fresh lemon juice (about 3–4 large lemons)
- 1 tablespoon lemon zest
- ¾ cup granulated sugar
- 3 large eggs plus 2 egg yolks
- ½ cup unsalted butter, cut into small pieces
Instructions
- Step 1: Prepare the Pastry Dough. Combine the flour, powdered sugar, and salt in a food processor. Pulse a few times to mix. Add the cold, cubed butter and pulse until the mixture looks like coarse crumbs. Add the egg yolk and ice water. Pulse just until the dough starts to clump together. Turn the dough out onto a floured surface, form it into a disk, wrap it in plastic, and chill in the fridge for at least 30 minutes.
- Step 2: Blind Bake the Tart Shell. Preheat your oven to 375°F (190°C). Roll out the chilled dough to fit a 9-inch tart pan with a removable bottom. Press the dough firmly into the edges and trim the excess. Prick the bottom with a fork. Line the dough with parchment paper and fill it with pie weights or dried beans. Bake for 12 minutes, then remove the weights and parchment. Bake for another 5-8 minutes until the crust is lightly golden. Set aside to cool.
- Step 3: Cook the Lemon Curd. In a medium saucepan, whisk together the lemon juice, lemon zest, sugar, eggs, and egg yolks. Place the pan over medium-low heat. Stir constantly with a whisk or wooden spoon. After about 5-8 minutes, the mixture will thicken enough to coat the back of a spoon. Do not let it boil, or the eggs might scramble. Remove from heat and immediately whisk in the cold butter pieces one by one until the filling is glossy and smooth.
- Step 4: Fill and Set the Tart. Strain the lemon curd through a fine-mesh sieve directly into the pre-baked tart shell to ensure a perfectly smooth texture. Smooth the top with a spatula. Place the tart back in the oven at 350°F (175°C) for 5 minutes just to set the filling slightly. Remove from the oven and let it cool to room temperature on a wire rack.
- Step 5: Chill and Serve. Once the tart reaches room temperature, transfer it to the refrigerator. Chill for at least 2 to 4 hours, or until the filling is firm and cold. When ready to serve, carefully remove the sides of the tart pan. Dust with powdered sugar or garnish with fresh berries and mint leaves for a beautiful presentation.
- Cook Time: 55 minutes
- Diet: Vegetarian